1st Steps with Graphcool’s GraphQL Command-Line Interface [Community Post]

Head of Product Innovation & Developer Strategy, Neo4j
2 min read

This blog post was originally published on Medium by Michael Hunger and is used with permission.
Graphcool released it’s GraphQL command-line tools two days ago, so I thought it would be nice to see how well they work, especially with our Neo4j GraphQL backend. And here’s the good news : pretty well.
You can see a quick demo below which this article will explain in detail.
So installing is easy, it’s just npm install -g graphql-cli, which makes a graphql command available. The tools make use of graphql-config, a consistent way of storing endpoints and related configuration information in YAML or JSON, which is specified here.
Here is a quick overview of the commands available:
Example GraphQL Backend
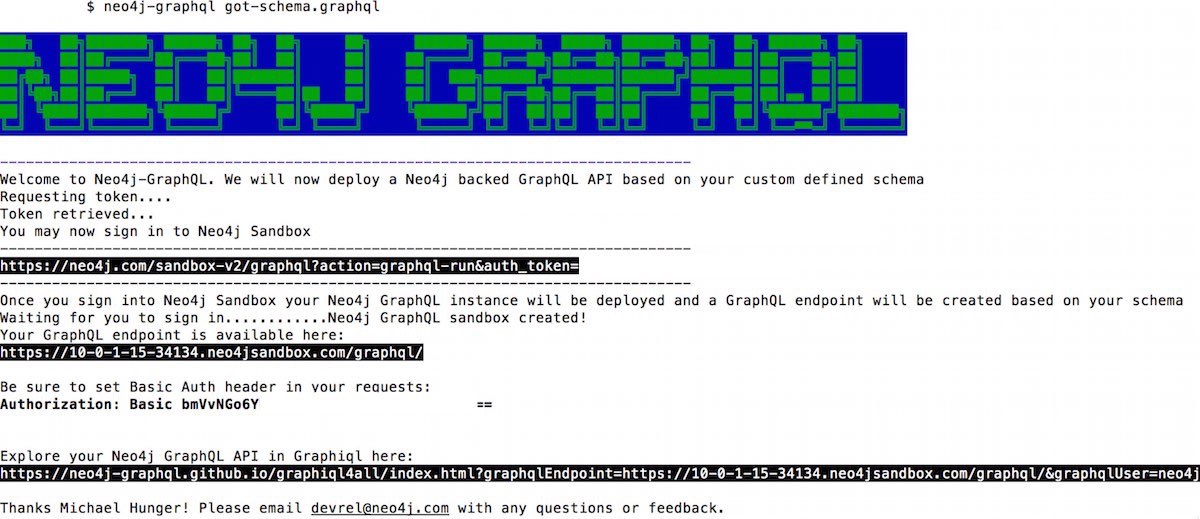
As an example for my tests of the GraphQL command-line interface, I’ll use my Game of Thrones GraphQL backend.
(If you just want to test it out, you can also just run npm install -g neo4j-graphql-cli && neo4j-graphql to spin up the default movie database backend.)
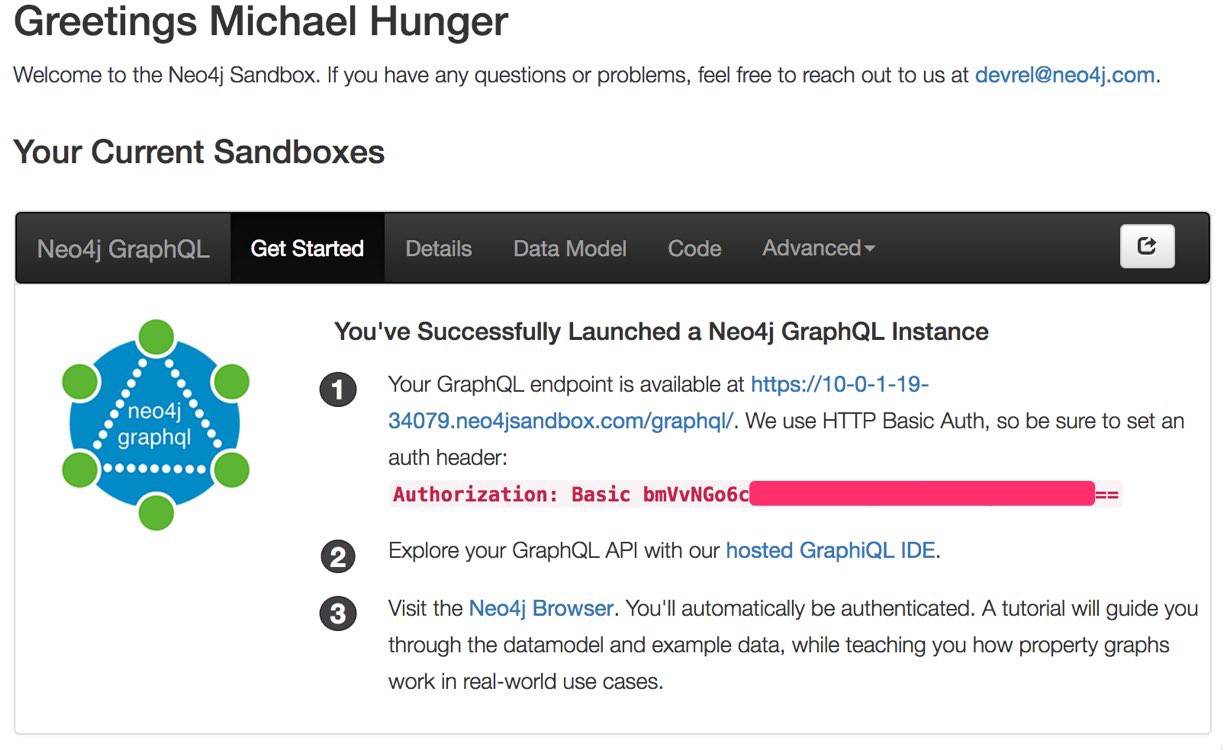
After spinning up my Game of Thrones instance I find this connection information on my Neo4j Sandbox UI:
GraphQL-CLI Setup
So I can just run graphql init, which then nicely asks me for these things:
Authentication Headers !?!
All good so far. But when I try to run graphql ping I get this error message, which means that (of course) my authentication header is missing.
Unfortunately at 3 a.m. I didn’t think about looking through the graphql-config spec, so I delved into the code of graphql-cli and then graphql-config, looking for a place to add header information.
Read the rest of Michael’s post on Medium where he covers plugin options, schema feching and altering current schemas.


