How to Build a JSON RESTful API with Neo4j, PHP, and OpenAPI

CEO of Nagels IT Consulting
10 min read
Building a web app doesn’t need to be complicated. Choosing the correct technologies and architecture is already 50 percent of the solution. A RESTful API can be the backbone of any application. It is simple, understandable by almost any programmer in any language, and easily programmable.
Some of the most mature tools on the market make it a breeze: OpenAPI helps define, document, and test the API without even programming a single line of code. PHP is probably the most mature web programming language in existence. It has excellent frameworks, a very active community, and continues to improve year over year. Then, of course, there is Neo4j, the best graph-based database on the market!
Want to know the real kicker? All of these tools are free!
This blog post will reveal how to build an API by example. It is based on the preceding live stream, which is available as a video here. We will create a simple API to manage Users and make them friends. Very simplistic, but valuable to show off the many functionalities of the tools above!
The first step about documenting the API can be seen as optional. If you immediately want to get into the nitty-gritty of API development, start at step 2: Set up Neo4j.
Define the API (Optional)
Without falling into the classic waterfall development cycle, starting by documenting small pieces of your API can be a great way to get started. A structured approach through OpenAPI leverages these key advantages:
- An architect/group can define the API, regardless of the underlying programming language.
- The declarative YAML file is understood by many tools. There is automatic validation middleware, API mocking, automatic client generation in many programming languages, integration with postman…
- The documentation step allows for very fast iterations as it produces visible results quickly.
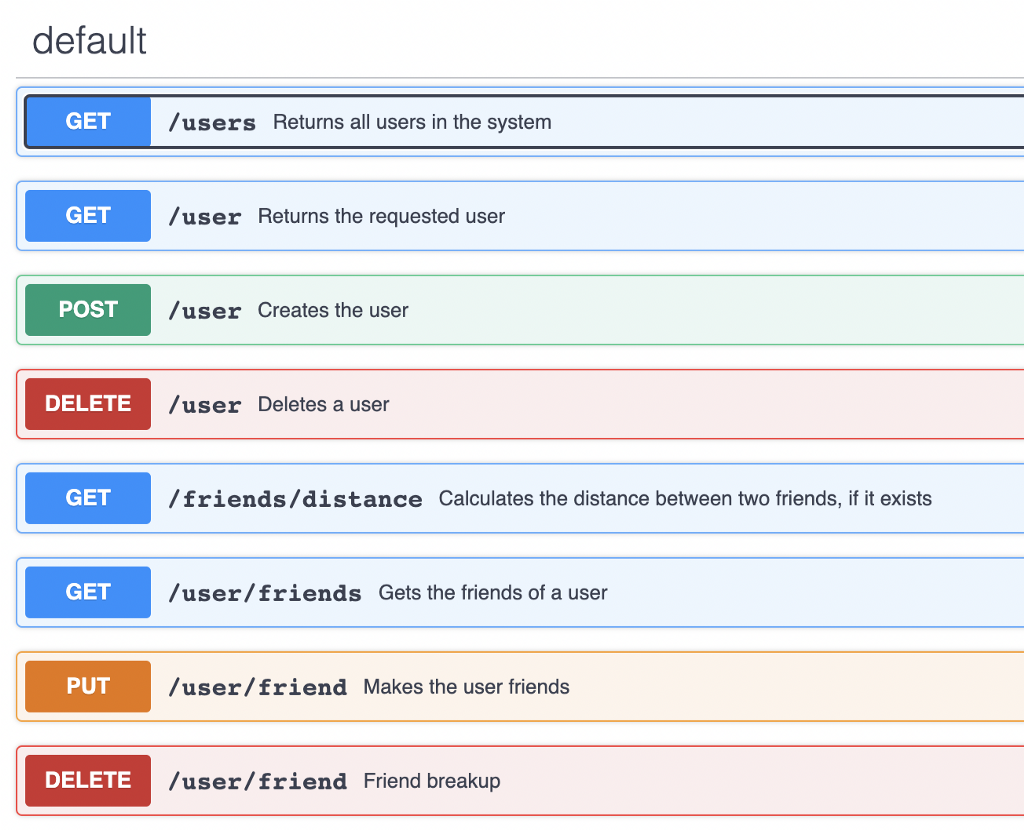
This blog post is about the actual programming, but the API definition is here.
Set Up Neo4j
Setting up Neo4j is one of the easiest things you can do if you use Neo4j AuraDB. Neo4j AuraDB is a managed cloud solution with automatic backups, high availability, and scaling built-in. There is already good documentation on how to do this:
Buckling Down: The Actual Programming
Install a framework and the driver
In this example, we will be using the slim framework. This is mainly because we teach the basics of REST APIs using Neo4j and PHP. This example also works with Laravel, Symfony, or any other ecosystem you can imagine.
It even works without a framework. Naturally, you will need to adhere to their principles when defining controllers, routes, and dependency injection with your tool of choice.
Installation is the easiest step of them all:
composer create-project slim/slim-skeleton:4.4.0 [my-app-name]
Change the directory to your app and install the Neo4j client and phpdotenv for convenience:
cd [my-app-name] && composer require laudis/neo4j-php-client vlucas/phpdotenv
You can now run the API locally using this command:
composer start
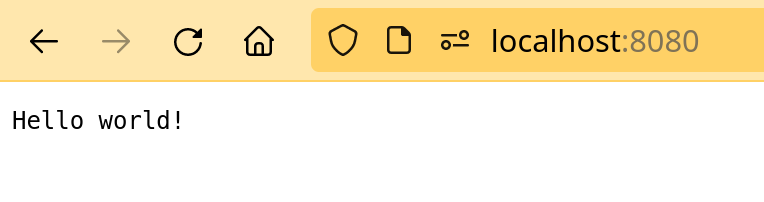
It is now reachable through the browser on localhost port 8080: https://localhost:8080. In a display of true minimalism, the app will simply show “hello world.” The framework is called slim for a reason.
Create the driver and session
Creating a driver for Neo4j is easy as one-two-three. A session can be created with a driver via this one-liner:
To add it to dependencies, navigate to app/dependencies.php and add the line. The page should now look like this:
The problem is that the NEO4J_URI needs to be loaded into the server environment. This can be difficult and cumbersome, which is why I am a big fan of phpdotenv, a library to load .env files in the server environment. This allows decoupling of the sensitive authentication URI from the codebase, as you would typically keep it in the .gitignore. A lot of frameworks already have this functionality.
Go to public/index.php and add this line before the line $response = $app->handle($request); .
DotenvDotenv::createImmutable(__DIR__.’/../’)->safeLoad();
The end result should look something akin to this:
Bootstrap the user controller
Let’s create a controller with the basic REST methods for managing users. First, create a directory src/Application/Controllers, then create UserController.php with the following methods and constructor:
By adding the session as a parameter in the controllers’ constructor, we automatically tell the application to inject it. By defining a Session key in the dependencies’ definition, we provided enough information to the application to successfully inject the parameter of this type.
Now that you have created all the methods, we can wire them in the app/routes.php file.
⚠️ Note: Don’t forget to import the UserController!
This ensures the application routes the requests to the correct methods in the controller.
Performing read queries
We will start by implementing the route GET /users. This is arguably the easiest route to implement. It does not require any parameters, as it simply returns a list of all the users in the system regardless.
The Cypher query is pretty straightforward:
This query matches all nodes with the label User and returns their id, first, and second name. But the Cypher language captures this pretty well 👌
We can run the query on the session like this:
Wrapping our query in NOWDOC (i.e. <<<ENDTAG query ENDTAG) has several advantages. The language can be easily deduced by an IDE to get code completion. It also allows straightforward formatting and prohibits string interpolation. This is important for later as Cypher and PHP use dollar signs to signify variables.
The driver will automatically interpret the results and return the rows and columns in a list and map respectively. Since all objects in the driver are json serializable, we can effortlessly return the results:
Using parameters in the driver
The next implementation introduces a little more complexity: parameters. GET /user expects and id in the query to return it. The driver effortlessly handles it like this:
Because we are using NOWDOC, the $id variable is pure Cypher syntax. The driver expects an iterable object to hold the parameters. The classic example is, of course, an array. The query parameters look like this: ["id" => "some-id"] . At runtime, Neo4j will correctly substitute the id variable with ‘some-id’ in this example.
This example assumes the input is already valid. You would either use something like an OpenAPI PSR validator in the real world or do it yourself. But that’s beyond the scope of this blog post.
After we have the query result, there is still some work to do. The user might not exist after all! Since the result is a list, we can use the isEmpty method.
The slim framework will correctly catch the exception and return it in a 404 response.
Writing the result to the response is, once again, easy as pie:
Using objects as parameters
Iterables and JsonSerializable objects can be used as parameters in the driver. For this reason, we will create our own UUID object and use it as a parameter when creating a user.
The Uuid class jsonserializes to a string and is placed in src/Domain/Uuid.php:
This makes the POST /user endpoint a breeze:
The REST principles should return a 201 CREATEDresponse with a Location header to navigate the created user easily.
Finishing off the user endpoints
The only endpoint to finish off is DELETE /user . Once again, the theme is simplicity, ease, and dare I say it, elegance:
⚠️
Watch out! Detach deleting removes all relationships attached to the user and the user itself. If you want to make sure there are no relationships on the node do a simple delete. Only using the DELETE keyword will fail if there are still relationships attached to the node.
REST is a very minimalistic principle. We should only return the essential information. Because of this, a successful deletion should return with 204 NO CONTENT.
Leveraging the Power of Graphs and Neo4j
As shown in the previous examples, Neo4j and PHP with a framework are a match made in heaven. With just a few lines of code, we essentially created a full API managing the databases’ users.
While the powerful Cypher query language is ideal for creating and querying nodes, it becomes exceptional when relationships are thrown into the mix. The following section is all about relationships, fast-performing queries, and ditching these pesky foreign keys in traditional SQL databases 👍
Creating the Friends Controller
The FriendsController will be responsible for forging friendships that may last a lifetime or end up becoming estranged. It will be able to query friends of friends. It can even calculate the minimum distance of friends between two people. Let’s go!
Controller scaffolding src/Application/Controllers/FriendsController.php:
Followed up by the routing in app/routes.php:
Summarize a query result
PUT /user/friend requires producing the same state in the application on subsequent reruns with the same parameters. This principle is known as idempotency. This is because friendship is a binary relationship. You are either friends, or you are not. You will never hear anyone say: Timmy is my best friend, we have been friends over 100 times!
Cypher has a powerful keyword for this: MERGE. Merging a pattern only creates it if it does not exist. In this case, it will only create a relationship as the query already matched both users, meaning they must exist.
Because relations are unidirectional in Cypher, but can be queried bidirectionally, we don’t need to create the relationship twice. It is more efficient to make sure the merged direction is always the same. For this reason we sort both friends by their ids before passing them as parameters:
To keep our good form going strong, we will return the GET /user/friends endpoint to query the relationship:
In order to fully comply with the PUT request, we differentiate between a 201 CREATED and 200 SUCCESS response. The CREATED response should only be returned if the relationship was actually created.
Luckily, the driver supports result summaries. This means we can easily query whether there were actual updates in the database:
This efficiency definitely beats using two queries to detect beforehand whether or not the relationship existed already! 🙌
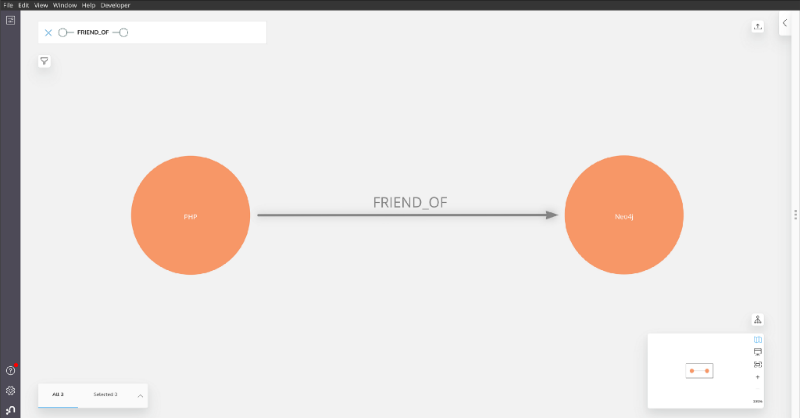
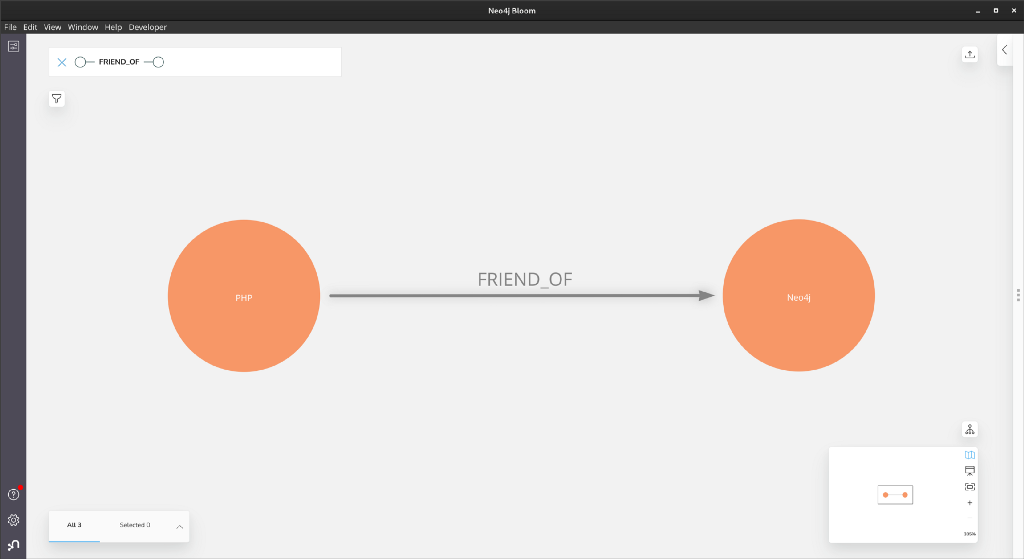
We can now start filling the database with HTTP requests. I filled mine with PHP and Neo4j being friends. My screen on Neo4j Bloom looks like this:
Aggregating relationships
When listing friends in the GET /user/friends endpoint, we can leverage Cypher to reduce code:
By using the collect function, we can “collect” all rows into a single one, by wrapping them in a list.
Once again, the controller implementation is a short as it is simple. 👌
Querying relationship distance
We don’t need any application code to traverse paths in the database. Neo4j already provides the shortest path function!
This query essentially says: Match user a and b with their respective ids and define their path as a set of nodes with at least one relationship FriendOf. Then let the shortest path function do the heavy lifting to find the actual shortest path.
Because it is possible to have no connection between users at all, it’s best to check against an empty result set:
Wrapping Things Up
The only endpoint left to implement is DELETE /user/friend, an exercise. The end result is also available on GitHub in the neo4j-examples organization here.
GitHub – neo4j-examples/friends-php-client
Other resources
If you want to learn more about the driver, there is an older blog post that goes more in-depth here:
- For a lot of the Neo4j PHP libraries:
- For other blog posts:
- For the PHP Video (look at me, mom!)
- For the actual repository used in the example and live stream:
GitHub – neo4j-examples/friends-php-client
How to Build a JSON RESTful API with Neo4j, PHP, and OpenAPI was originally published in Neo4j Developer Blog on Medium, where people are continuing the conversation by highlighting and responding to this story.
Share Article


Explore
Related Articles

Mastering Fraud Detection With Temporal Graph Modeling

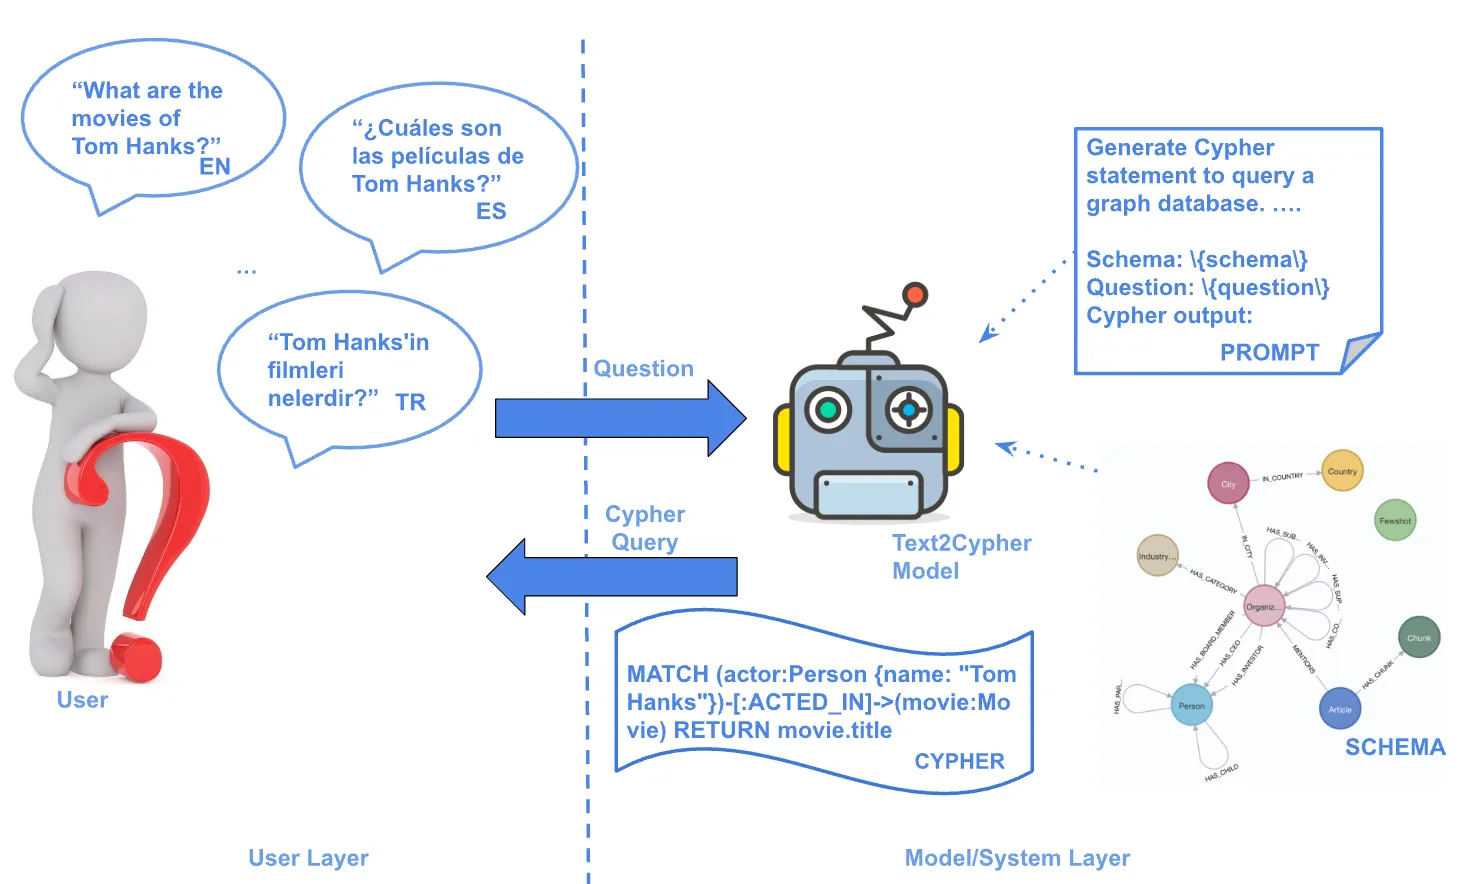
Text2Cypher Across Languages: Evaluating Foundational Models Beyond English