Quickstart for Confluent Cloud
|
This page includes instructions on the usage of a third-party platform, which may be subject to changes beyond our control. In case of doubt, refer to the third-party platform documentation. |
Confluent Cloud provides a Managed Sink Connector using the Neo4j Connector for Confluent. For customers wishing to use Aura/Neo4j as a source, Neo4j supports running the Neo4j Connector as a Custom Connector within Confluent Cloud.
Prerequisites
-
An AuraDB Enterprise or a Neo4j Enterprise on-prem deployment, with CDC enabled, which is accessible through public internet. Follow Enable CDC on Neo4j Aura or Enable CDC on Neo4j DBMS for instructions.
-
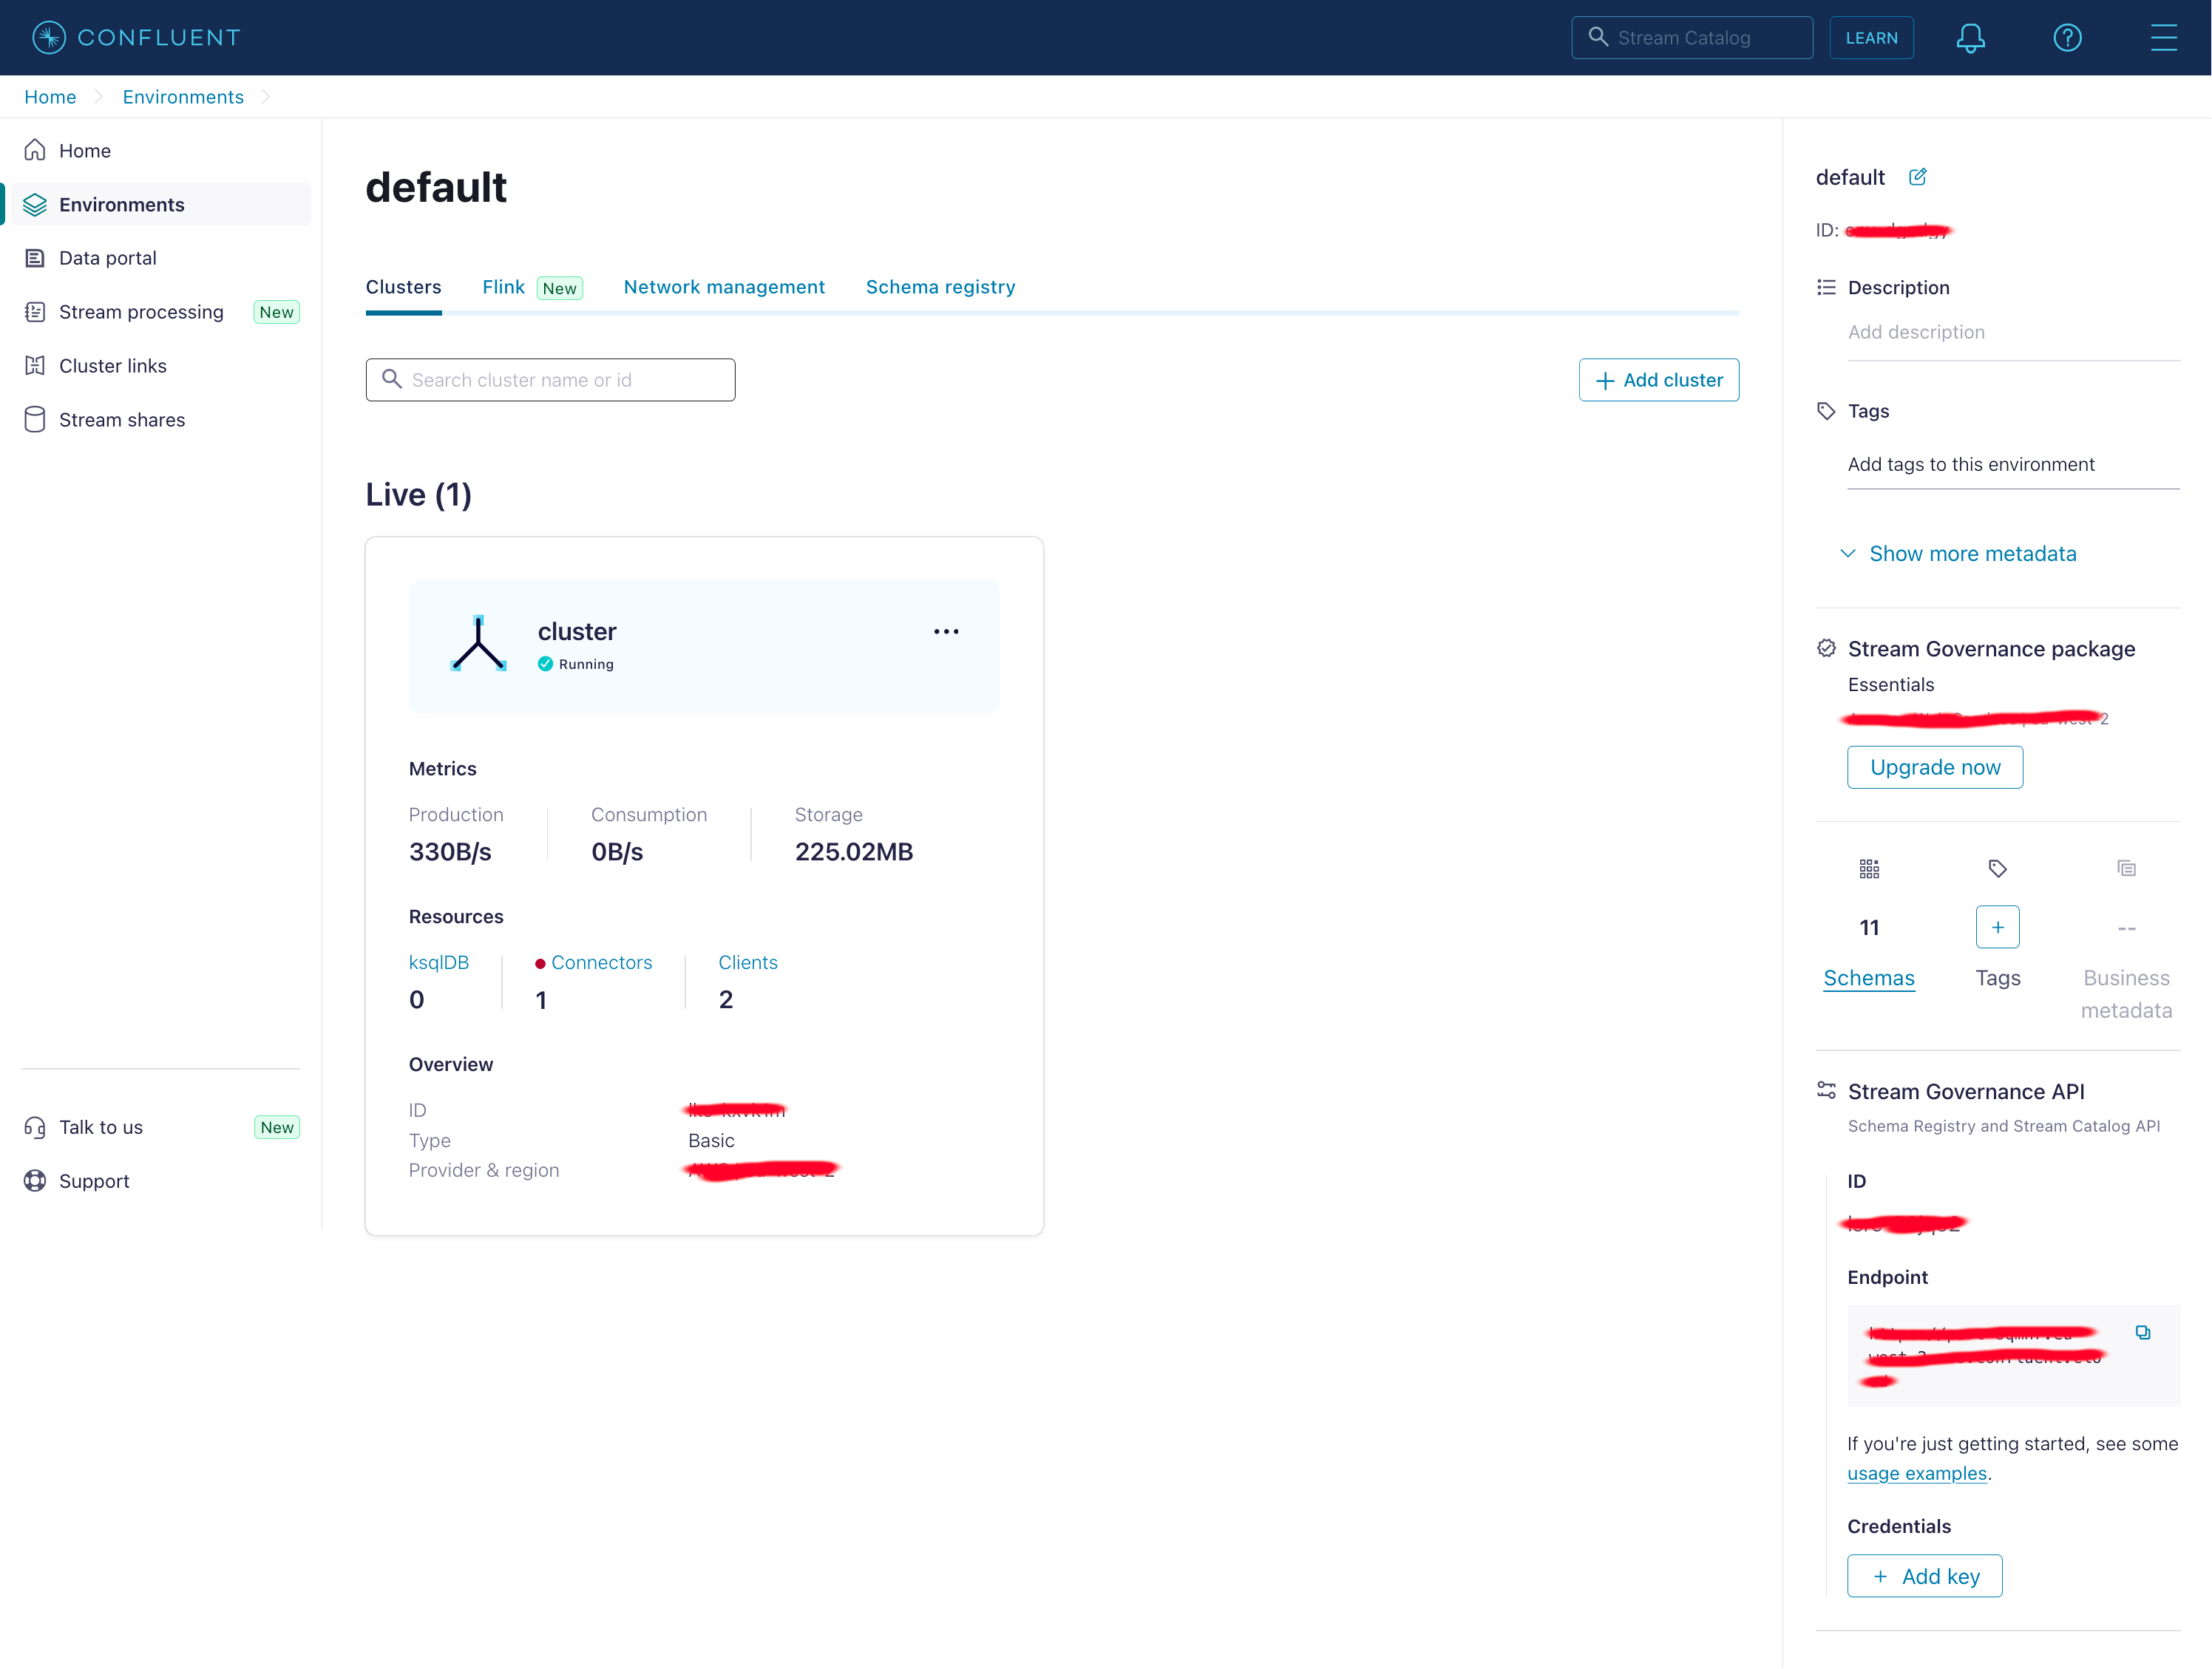
An environment and a running cluster must be available at Confluent Cloud, similar to what’s shown in Figure 1, “A running cluster inside Confluent Cloud”.
Upload Source plugin as a Custom Connector
Before creating our connector instances, we first need to define Neo4j Connector for Kafka as a Custom Connector.
-
Select the cluster you want to install the connector into, open the
Connectorssection and clickAdd plugin. -
Click
Add Pluginand fill in the details for the new custom connector as shown below, then accept the conditions and clickSubmit.- Connector plugin name
-
Neo4j Connector for Confluent Source
- Custom plugin description
-
Neo4j Connector for Confluent Source plugin as a custom connector.
- Connector class
-
org.neo4j.connectors.kafka.source.Neo4jConnector - Connector type
-
Source - Connector archive
-
Grab latest Confluent Hub Component archive package by following distribution instructions and select the downloaded
neo4j-kafka-connector-5.3.0.zipfile from your local computer. - Sensitive properties
-
In order for sensitive configuration properties to be protected in your connector instances, you should mark at least the following configuration properties as sensitive.
neo4j.authentication.basic.password
neo4j.authentication.kerberos.ticket
neo4j.authentication.bearer.token
neo4j.authentication.custom.credentials
It will upload the archive and create the Source plugin.
Custom Connectors are Kafka Connect plugins created by users, modified open-source connector plugins, or third-party connector plugins like the Neo4j Connector for Confluent. Find out more about Custom Connectors in the Confluent documentation and read our blog post which includes a worked example on how to set this up with Aura.
You can create a connector from Confluent Cloud to Neo4j and Neo4j AuraDB by following the instructions on the Neo4j Developer Blog.
Create Source Instance
Having created our source custom connector in the previous section, we can now start configuring our Source instance.
-
In Confluent Cloud, go to Connectors section for your cluster and search for plugin
Neo4j Connector for Confluent Sourcewhich we have created in above. -
Click on the connector to start configuring our source connector instance.
-
Configure an API Key for accessing your Kafka cluster, and click Continue.
-
First click
Auto Configure Schema Registryand select either ofJSON Schema,AvroorProtobufbased on your preferences, and clickApply changes. This will generate a couple of configuration options for schema support. Next, configure the connector configuration options either as individual key value pairs or adding into the existing JSON. For quickstart, we will configure our source instance so that it will send change event messages on nodes matching pattern(:TestSource)over to the topics namedcreates,updatesanddeletes, using your preferred serialization format.Verify that all your configuration options are correct, and click
Continue. -
At the next screen, we need to add connection endpoints so that our connector can access Neo4j or AuraDB. Extract your hostname and port from Neo4j Connection URI, and add it as an endpoint. Remember that default port number for Neo4j connections is
7687. For example, for connection URIneo4j+s://<redacted>.databases.neo4j.iowe should enter<redacted>.databases.neo4j.io:7687as an endpoint. -
Next, select how many tasks your connector should run with and click
Continue. Source connectors always run with 1 task, so the default value of1would be enough. -
Finally, name your connector instance, review your settings and click
Continue. -
The source instance will be provisioned and will be shown as
Runningin a couple of minutes.
Now that you have a running source instance, you can create the following nodes in Neo4j:
CREATE (:TestSource {name: 'john', surname: 'doe'});
CREATE (:TestSource {name: 'mary', surname: 'doe'});
CREATE (:TestSource {name: 'jack', surname: 'small'});
This will result in new messages being published to the topic named creates.
Create Sink Instance
Having created our Source instance in the previous section, we can now start configuring our Sink instance so that we can act upon messages generated by our Source instance.
-
In Confluent Cloud, go to Connectors section for your cluster and search for plugin
Neo4j Sinkwhich is provided as a Managed Connector by Confluent. -
Click on the connector to start configuring our sink connector instance.
-
Select
creates,updatesanddeletestopics to be consumed by this sink instance, and click Continue. -
Configure an API Key for accessing your Kafka cluster, and click Continue.
-
Enter Neo4j connection details including authentication method, username and password, and click Continue.
-
Select either of
JSON Schema,AvroorProtobufas the record value format, based on your incoming message serialization format. Next, configure the connector configuration options to match your preferences. For quickstart, we will configure our sink instance so that it will execute a Cypher statement for each message received from the topics namedcreates,updatesanddeletes.Configure the following options:
Cypher Statement for Topic{ "creates": "WITH __value.event.state.after AS state MERGE (p:Person {name: state.properties.name, surname: state.properties.surname}) MERGE (f:Family {name: state.properties.surname}) MERGE (p)-[:BELONGS_TO]->(f)", "updates": "WITH __value.event.state.before AS before, __value.event.state.after AS after MATCH (p:Person {name: before.properties.name, surname: before.properties.surname}) MATCH (fPre:Family {name: before.properties.surname}) OPTIONAL MATCH (p)-[b:BELONGS_TO]->(fPre) DELETE b WITH after, p SET p.name = after.properties.name, p.surname = after.properties.surname MERGE (f:Family {name: after.properties.surname}) MERGE (p)-[:BELONGS_TO]->(f)", "deletes": "WITH __value.event.state.before AS before MATCH (p:Person {name: before.properties.name, surname: before.properties.surname}) DETACH DELETE p", }Clear
Bind Timestamp As,Bind Header AsandBind Key Asoptions, setBind Value Asto__valueandBind Value As Eventtofalse.Leave other options as default, verify that all your configuration options are correct, and click
Continue. -
Next, select how many tasks your connector should run with and click
Continue. -
Finally, name your connector instance, review your settings and click
Continue. -
The sink instance will be provisioned and will be shown as
Runningin a couple of minutes.
Testing It Out
Now you can access your Confluent Cloud cluster, and verify at least the creates topic is created as specified in the connector configuration.
With both source and sink connectors running, the previously created :TestSource nodes will result in messages being published into the creates topic by the source instance.
These messages will then be consumed by the sink instance, and corresponding :Person and :Family nodes to be created inside Neo4j.
As you create, update and delete the TestSource labelled nodes, updates and deletes topics will also be created.
Check that this is the case, by executing the following query in the Neo4j Browser at http://localhost:7474/browser/:
MATCH (n:(Person | Family)) RETURN nYou can now create, update or delete Person and Family nodes by executing more statements like:
CREATE (:TestSource {name: 'Ann', surname: 'Bolin'});Verify that a new Person and a new Family node is created and linked together.
MATCH (n:TestSource {name: 'mary', surname: 'doe'}) SET n.surname = 'smith';Verify that the existing Person node is now updated with a surname of smith and linked to a new Family node.
MATCH (n:TestSource {name: 'mary', surname: 'smith'}) DELETE n;Verify that the existing Person node is now deleted.
Summary
In this quickstart, we have shown how to configure an AuraDB/Neo4j database to act as both the source of messages for Kafka topics and the sink for those same messages to create, update or delete nodes and relationships in the database. Typically, our connector is used as either a sink when pulling data from other data sources via Confluent or as source for Confluent to push data into other databases.
Troubleshooting
-
Make sure you have CDC enabled on your database.
-
Make sure you have set the connection endpoints correctly as specified above.
-
Check logs for the connector.
| Please note that custom connector logs in Confluent Cloud may not be available immediately. It might be useful to keep this in mind while testing out configuration changes on the connector instance. |