Getting Started
This page describes how to get started with this library, and set up your first RDF import.
Set up Neo4j
To configure your Neo4j Graph DB, the process is simplified: initialize the database by establishing a uniqueness constraint on Resources' URIs. You can achieve this by executing the following Cypher fragment:
CREATE CONSTRAINT n10s_unique_uri FOR (r:Resource) REQUIRE r.uri IS UNIQUE;This constraint ensures the uniqueness of URIs for Resource nodes, streamlining the integration process. Alternatively, you can simply set create=True when attempting to open the store in your Python code, and it will create the constraint for you.
Set up Python environment
rdflib-neo4j can be installed with Python’s package management tool pip:
$ pip install rdflib-neo4jLoading data
Now, seamlessly import RDF data into your Neo4j On-premise or Aura instance by establishing an RDFLib graph and employing it to parse your RDF data. Each individual triple undergoes transparent persistence within your Neo4j database(whether it is on Aura or on-premise). Here’s a step-by-step guide to achieve this integration:
You can import the data from an RDF document (for example this one serialised using N-Triples):
from rdflib_neo4j import Neo4jStoreConfig, Neo4jStore, HANDLE_VOCAB_URI_STRATEGY
from rdflib import Graph
# set the configuration to connect to your Aura DB
AURA_DB_URI="your_db_uri"
AURA_DB_USERNAME="neo4j"
AURA_DB_PWD="your_db_pwd"
auth_data = {'uri': AURA_DB_URI,
'database': "neo4j",
'user': AURA_DB_USERNAME,
'pwd': AURA_DB_PWD}
# Define your custom mappings & store config
config = Neo4jStoreConfig(auth_data=auth_data,
custom_prefixes=prefixes,
handle_vocab_uri_strategy=HANDLE_VOCAB_URI_STRATEGY.IGNORE,
batching=True)
file_path = 'https://github.com/jbarrasa/gc-2022/raw/main/search/onto/concept-scheme-skos.ttl'
# Create the RDF Graph, parse & ingest the data to Neo4j, and close the store(If the field batching is set to True in the Neo4jStoreConfig, remember to close the store to prevent the loss of any uncommitted records.)
neo4j_aura = Graph(store=Neo4jStore(config=config))
# Calling the parse method will implictly open the store
neo4j_aura.parse(file_path, format="ttl")
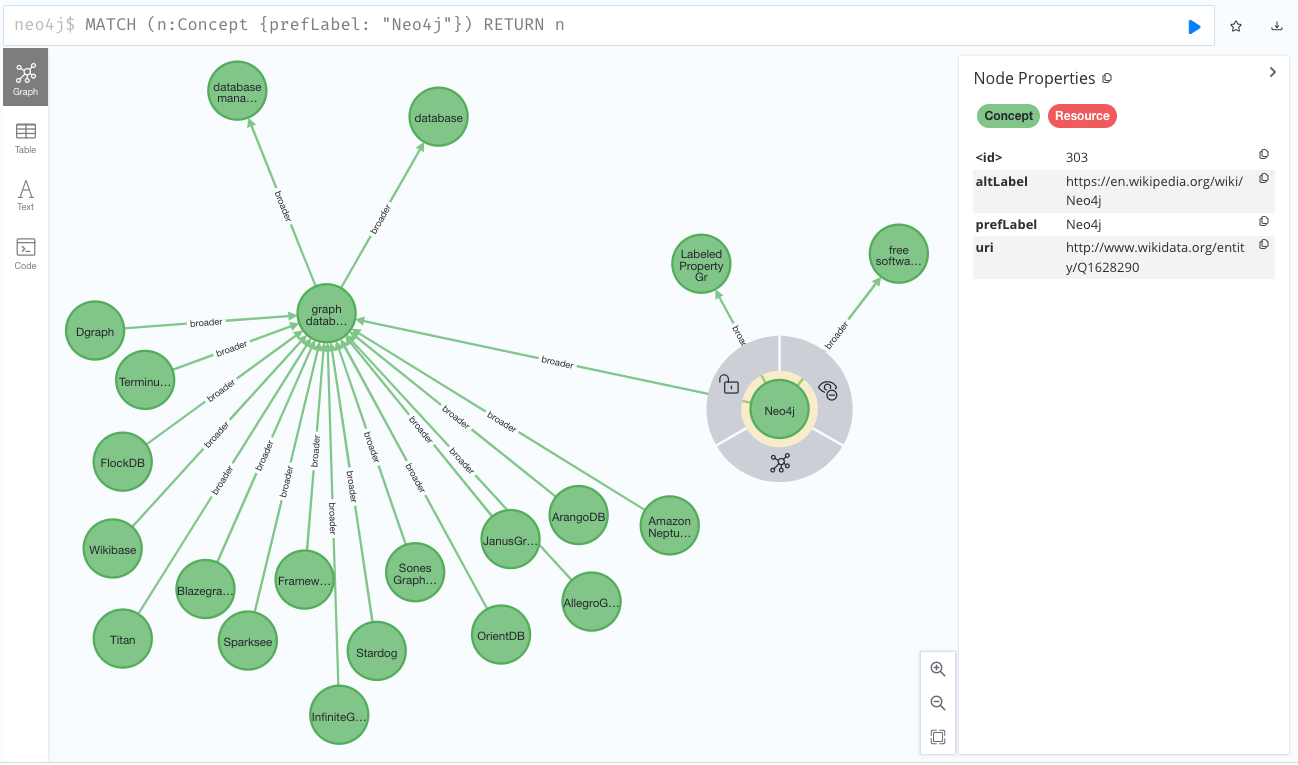
neo4j_aura.close(True)The imported file contains a taxonomy of technologies extracted from Wikidata and serialised using SKOS. After running the previous code fragment, your Aura DB/Neo4j DB should be populated with a graph like this one:
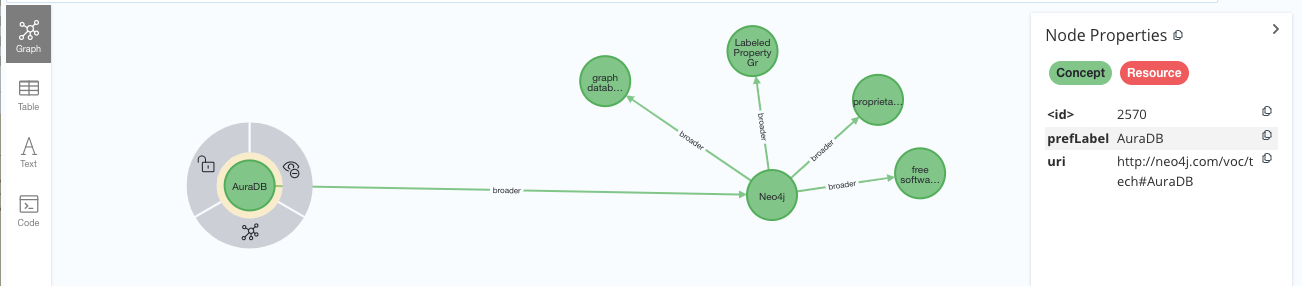
You can also write to the graph triple by triple like this:
import rdflib
from rdflib_neo4j import Neo4jStoreConfig, Neo4jStore, HANDLE_VOCAB_URI_STRATEGY
from rdflib import Graph, RDF, SKOS

# Set up your store config
config = Neo4jStoreConfig(auth_data=auth_data,
                          handle_vocab_uri_strategy=HANDLE_VOCAB_URI_STRATEGY.IGNORE,
                          batching=False)

# Create the graph and open the store
neo4j_aura = Graph(store=Neo4jStore(config=config))
neo4j_aura.open(config)

aura = rdflib.URIRef("http://neo4j.com/voc/tech#AuraDB")

neo4j_aura.add((aura, RDF.type, SKOS.Concept))
neo4j_aura.add((aura, SKOS.prefLabel, rdflib.Literal("AuraDB")))
neo4j_aura.add((aura, SKOS.broader, rdflib.URIRef("http://www.wikidata.org/entity/Q1628290")))
The previous fragment would add another node to the graph representing AuraDB as a concept related to Neo4j via skos:narrower, which in your AuraDB graph would look as follows: