Creating a new project
|
This is the documentation of the GraphQL Library version 7. For the long-term support (LTS) version 5, refer to GraphQL Library version 5 LTS. |
This tutorial walks you through creating a new project with the Neo4j GraphQL Library.
This tutorial shows you how to:
-
Install the Neo4j GraphQL Library and its dependencies.
-
Set type definitions that represent the structure of your graph database.
-
Start an instance of the library to generate a GraphQL schema.
-
Run an instance of a server to execute queries and mutations against your schema.
The tutorial assumes familiarity with command line and JavaScript, and also that you have a recent version of Node.js installed.
The examples use the default npm package manager, but you can use another one of choice.
Create a new project
-
Create a new directory and
cdinto it:mkdir neo4j-graphql-example cd neo4j-graphql-example -
Create a new Node.js project (with ESM modules enabled by using the es6 option):
npm init es6 --yes -
Create an empty
index.jsfile which will contain all of the code for this tutorial:touch index.js
Install dependencies
-
Install the Neo4j GraphQL Library and its dependencies:
-
@neo4j/graphql: the official Neo4j GraphQL Library package. It takes your GraphQL type definitions and generates a schema backed by a Neo4j database. -
graphql: the package used to generate a schema and execute queries and mutations. -
neo4j-driver: the official Neo4j Driver package for JavaScript, of which an instance must be passed into the Neo4j GraphQL Library.
-
-
Install a GraphQL server package to host your schema and allow the execution of queries and mutations against it.
-
The
@apollo/serveris the default package for Apollo Server:npm install @neo4j/graphql graphql neo4j-driver @apollo/server
-
-
Set up a Neo4j database. Make sure it fulfills the requirements, including the necessary plugins.
Set GraphQL type definitions
The Neo4j GraphQL Library is primarily driven by type definitions which map to the nodes and relationships in your Neo4j database. To get started, use a simple example with two node types, one with label "Actor" and the other "Movie":
-
Open the previously created
index.jsin your editor of choice and write your type definitions. Add all of the necessary package imports:import { ApolloServer } from '@apollo/server'; import { startStandaloneServer } from '@apollo/server/standalone'; import { Neo4jGraphQL } from "@neo4j/graphql"; import neo4j from "neo4j-driver"; const typeDefs = `#graphql type Movie @node { title: String actors: [Actor!]! @relationship(type: "ACTED_IN", direction: IN) } type Actor @node { name: String movies: [Movie!]! @relationship(type: "ACTED_IN", direction: OUT) } `;Note that these type definitions only define the node labels "Actor" and "Movie", and a relationship "ACTED_IN" between the two. When the schema is generated, you can then execute queries for
actorsandmoviesto read data from the database. -
Alternatively, you can also automatically generate type definitions from an existing database by introspecting the schema.
Create an instance of Neo4jGraphQL
To create an instance of the Neo4j GraphQL Library, you need a Neo4j driver to connect to your database.
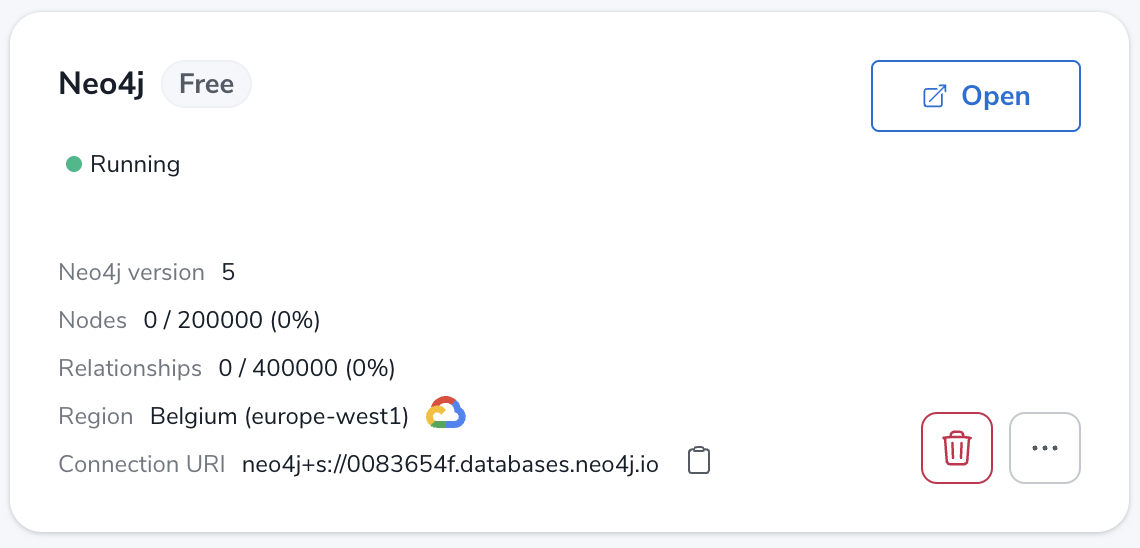
Using AuraDB
-
For an AuraDB database, create an instance.
-
Make sure to save the generated password and the connection URI provided after the instance is ready and looking similar to this:

Using a Neo4j database
For a database located at the default "neo4j://localhost:7687" (see more about port configuration), with the username "username" and the password "password", add the following to the bottom of your index.js file:
const driver = neo4j.driver(
"neo4j://localhost:7687",
neo4j.auth.basic("username", "password")
);
const neoSchema = new Neo4jGraphQL({ typeDefs, driver });Create an instance of ApolloServer
To create an Apollo Server instance using the generated schema, in which you can execute queries against it, add the following to the bottom of index.js:
const server = new ApolloServer({
schema: await neoSchema.getSchema(),
});
const { url } = await startStandaloneServer(server, {
listen: { port: 4000 },
});
console.log(`🚀 Server ready at ${url}`);Start the server
Make sure that your index.js file looks like this:
import { ApolloServer } from '@apollo/server';
import { startStandaloneServer } from '@apollo/server/standalone';
import { Neo4jGraphQL } from "@neo4j/graphql";
import neo4j from "neo4j-driver";

const typeDefs = `#graphql
    type Movie @node {
        title: String
        actors: [Actor!]! @relationship(type: "ACTED_IN", direction: IN)
    }

    type Actor @node {
        name: String
        movies: [Movie!]! @relationship(type: "ACTED_IN", direction: OUT)
    }
`;
const driver = neo4j.driver(
    "neo4j://localhost:7687",
    neo4j.auth.basic("username", "password")
);

const neoSchema = new Neo4jGraphQL({ typeDefs, driver });
const server = new ApolloServer({
schema: await neoSchema.getSchema(),
});
const { url } = await startStandaloneServer(server, {
context: async ({ req }) => ({ req }),
listen: { port: 4000 },
});
console.log(`🚀 Server ready at ${url}`);You are ready to start up your GraphQL server. Back in the command line, run:
node index.jsIf successful, you should see the following output:
🚀 Server ready at http://localhost:4000/The address http://localhost:4000/ is the URL where the Apollo Server starts.
Create nodes in the database
-
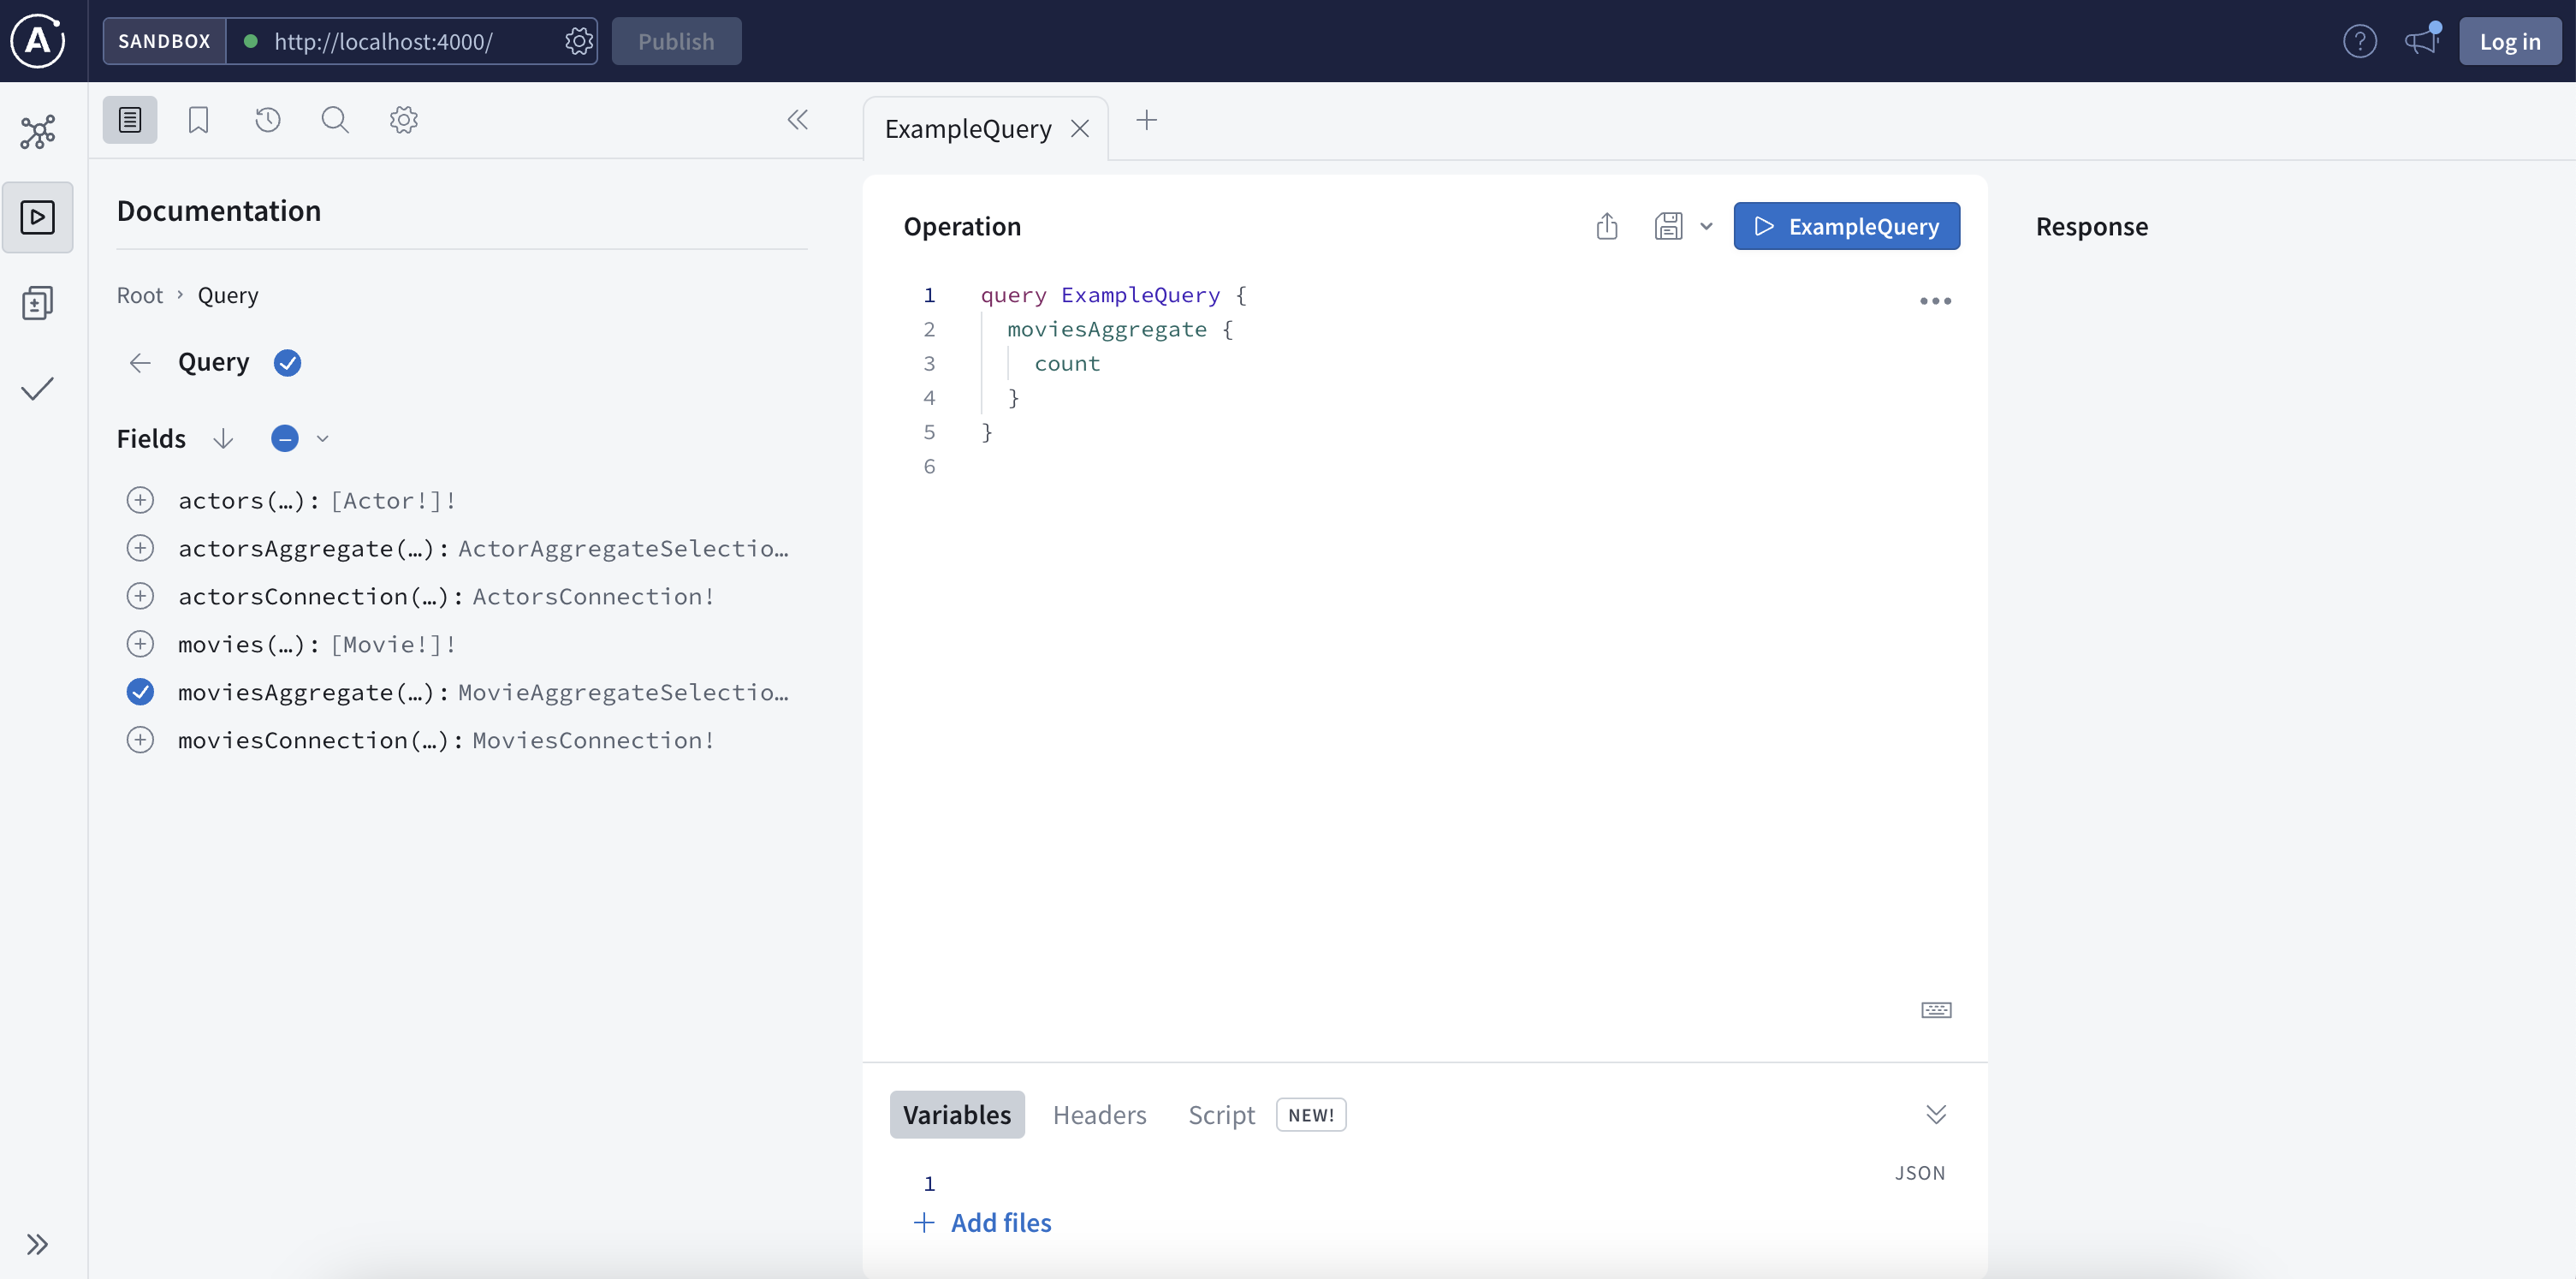
Visit http://localhost:4000/ in your web browser. You should get redirected to the Apollo Sandbox:

-
At the moment your database is empty. To start adding data, copy and paste the following mutation to the Operation panel to create a movie and an actor in that movie:
mutation { createMovies( input: [ { title: "Forrest Gump" actors: { create: [{ node: { name: "Tom Hanks" } }] } } ] ) { movies { title actors { name } } } } -
Click the "Run" button on the top right. You should get the following confirmation that the data has been created in the database in the Response panel:
{ "data": { "createMovies": { "movies": [ { "title": "Forrest Gump", "actors": [ { "name": "Tom Hanks" } ] } ] } } } -
Query the data which you just added. Copy and paste the following query to the Operations panel:
query {
  movies {
    title
    actors {
      name
    }
  }
}
Since you only created one "Movie" node and one "Actor", the Response panel shows the following:
{
  "data": {
    "movies": [
      {
        "title": "Forrest Gump",
        "actors": [
          {
            "name": "Tom Hanks"
          }
        ]
      }
    ]
  }
}
Conclusion
This concludes the tutorial. By now, you should have a GraphQL API connected to a Neo4j database, to which you added two nodes.
To learn more, keep reading the documentation about Queries and aggregations or alternatively learn how to use the Neo4j GraphQL Toolbox. For more advanced database settings, refer to the Driver configuration page.
Get hands-on with the GraphQL course on GraphAcademy.