Get Started With the Neo4j Aura CLI Beta Release

Software Engineer, Neo4j
4 min read

We’re thrilled to announce the beta release of the Neo4j Aura CLI, a powerful new tool designed to simplify and streamline the management of your Neo4j Aura resources directly from the command line. Whether you’re provisioning new databases or scaling existing ones, the Neo4j Aura CLI empowers developers and operations teams with greater flexibility, speed, and efficiency. Built with ease of use in mind, this CLI bridges the gap between automation and hands-on control, enabling you to integrate Neo4j Aura seamlessly into your workflows. Let’s explore what makes this tool an essential addition to your Neo4j toolkit.
Downloading and Running the CLI for the First Time
The new Aura CLI is available on GitHub. Choose the latest release and download the archive suitable for your platform and architecture of choice. While this product walkthrough is focused on macOS, the CLI is fully compatible with Linux and Windows.
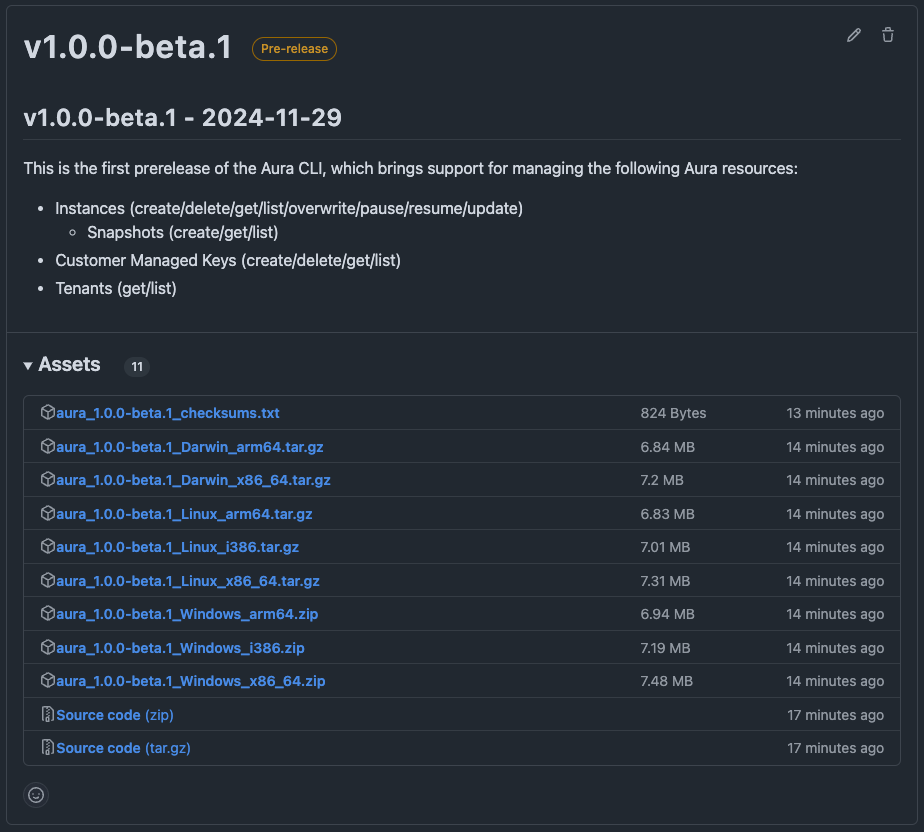
Extract the CLI to a location of your choosing. I like to put tools like this in a bin/ directory in my home directory and add the following line to my .zshrc file so I can run them directly rather than having to type their path:
PATH=$HOME/bin:${PATH}The first time running the CLI, you may be faced with the following warning:
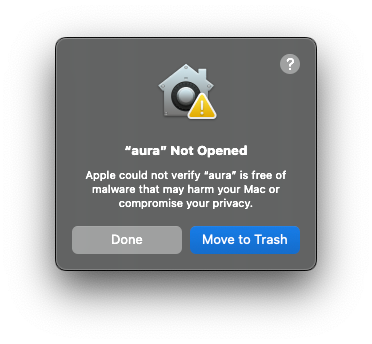
While I assure you that this CLI is indeed free of malware, we’re still working on the notarization process for our macOS distributables, so bear with us on this one! To get around this problem, crack open your system settings, select Privacy & Security on the left, and scroll down on the right. You should see an Open Anyway button next to a message about this CLI.
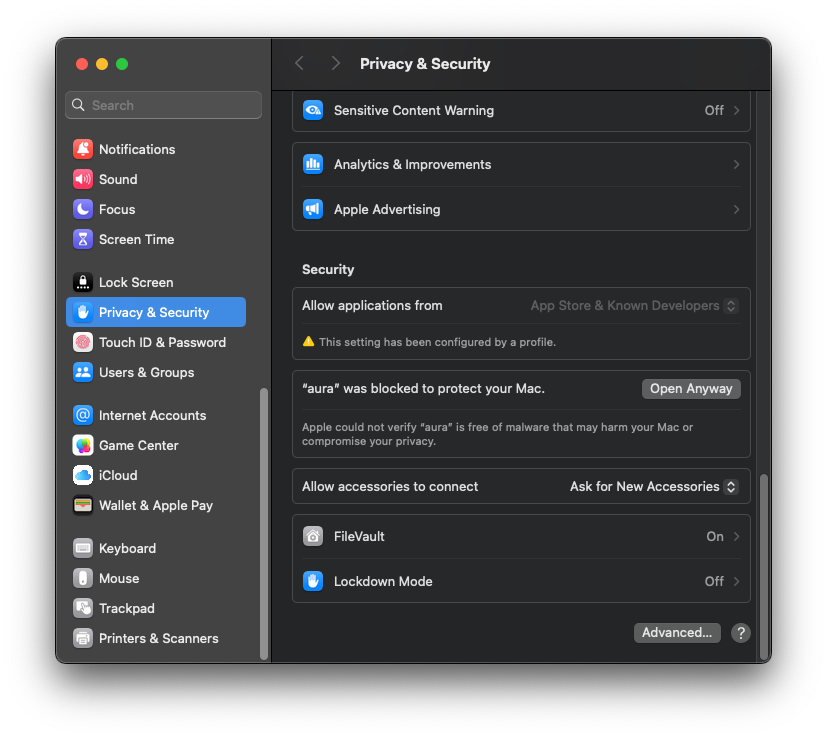
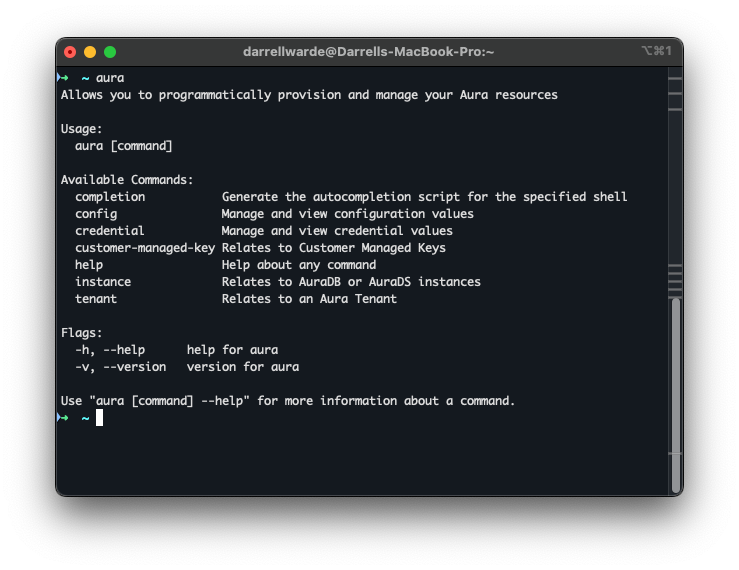
Give that button a click, and you will prompted to confirm your action and enter your password. Game on! If we run the CLI again, you should be presented with usage instructions:
However, if we try to say list our instances using aura instance list:
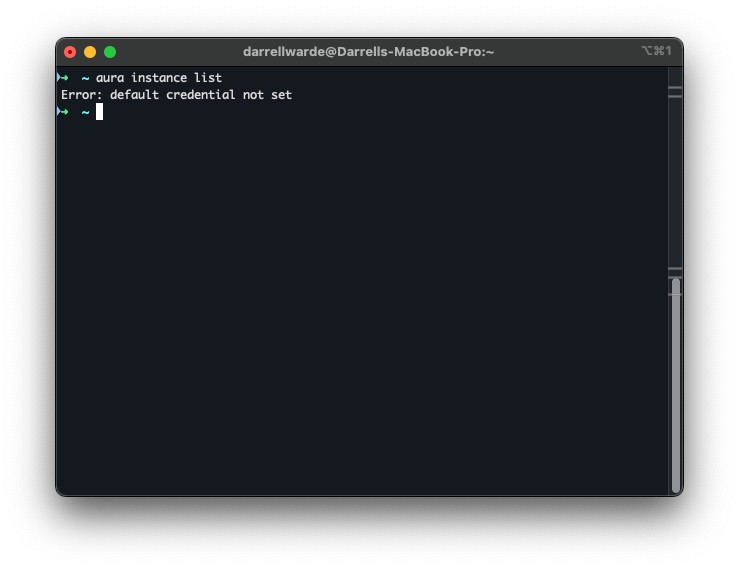
Looks like we’re going to need an API key to get up and running!
Create an API Key
To create an API key, navigate and log into the Neo4j Aura Console (or if you’re feeling fancy like me, check out the preview of our new Console!). From here, hit your profile at the top right and go to API Keys. It’s worth noting that you need to have some form of payment information in your account to access this functionality.
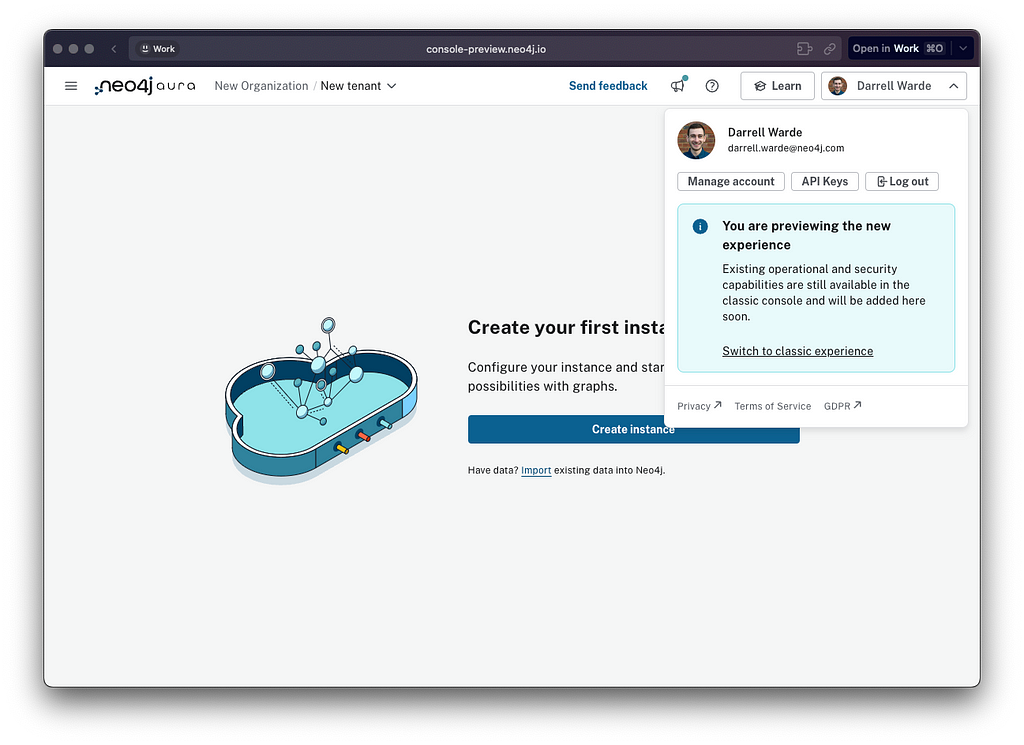
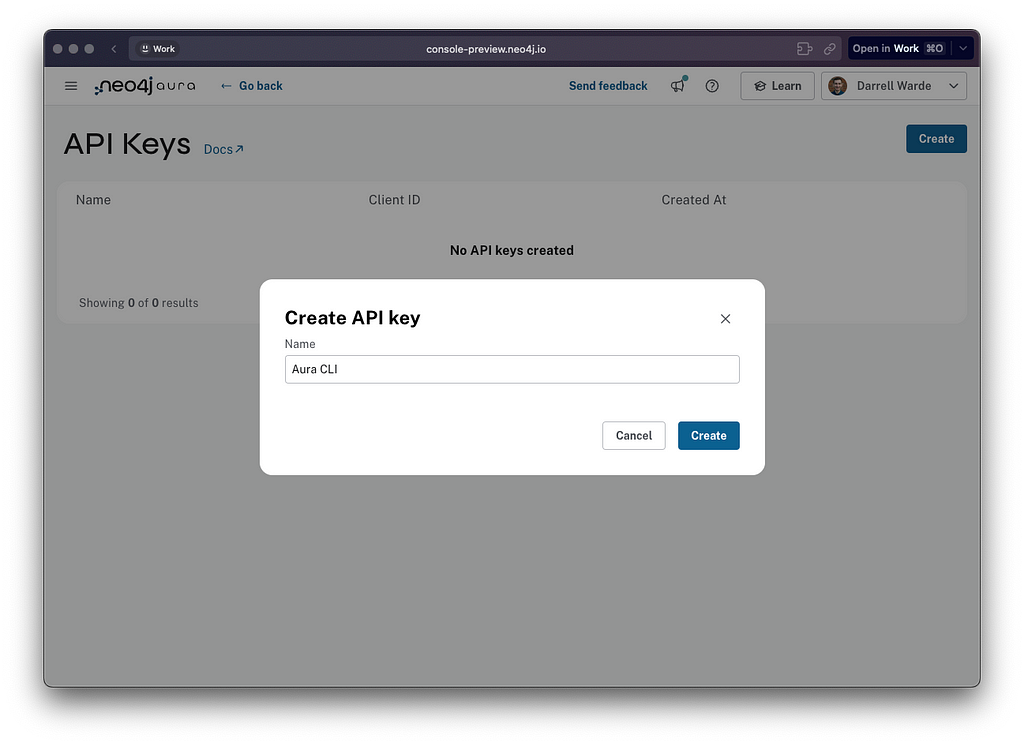
From here, we can hit Create and give our API key a nice descriptive name.
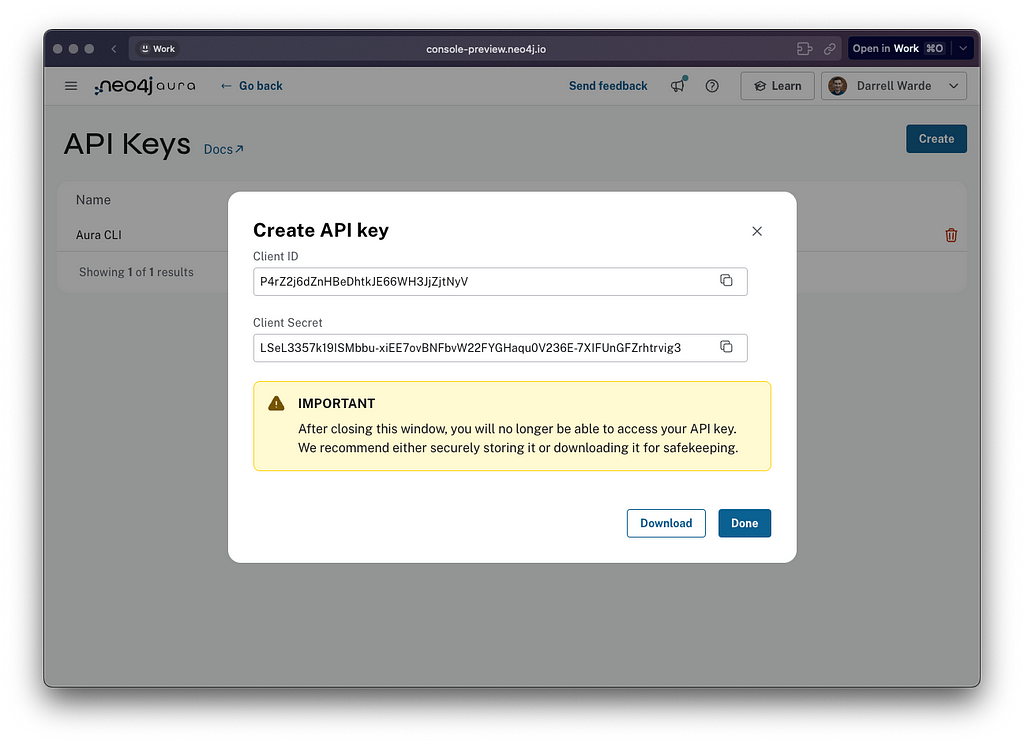
You’ll be presented with your Client ID and Client Secret — make sure to save these to a safe location because you won’t be able to access them again.
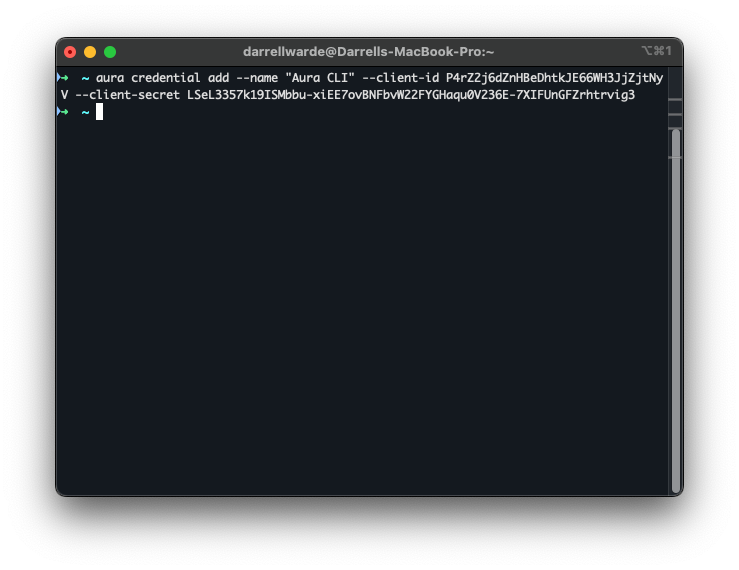
Going back to our CLI, we can run the aura credential add command to add this API key into our configuration:
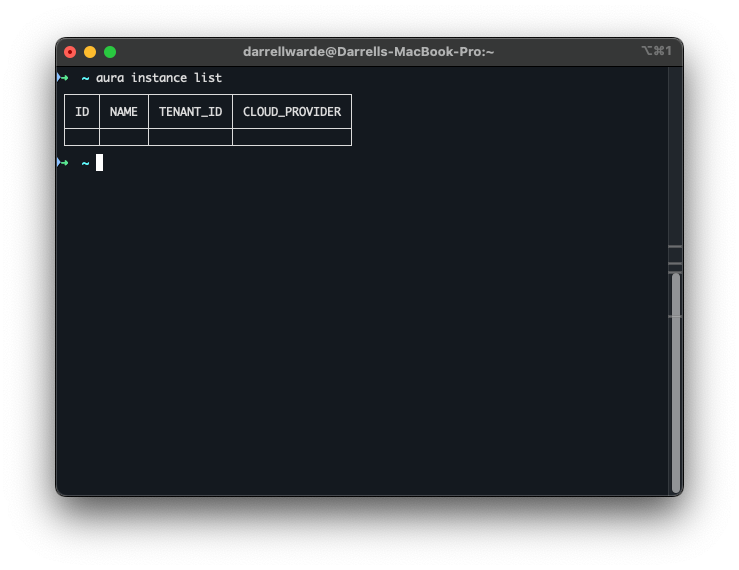
Now when we try to list our instances again, success!
Creating an Instance
To create an instance, you need to know the ID of the tenant/project you want to create it in. While you can fetch this information from the Aura Console, we’ll use the CLI here. If you run aura tenant list, you’ll get a list of tenants from which you can fetch the ID:
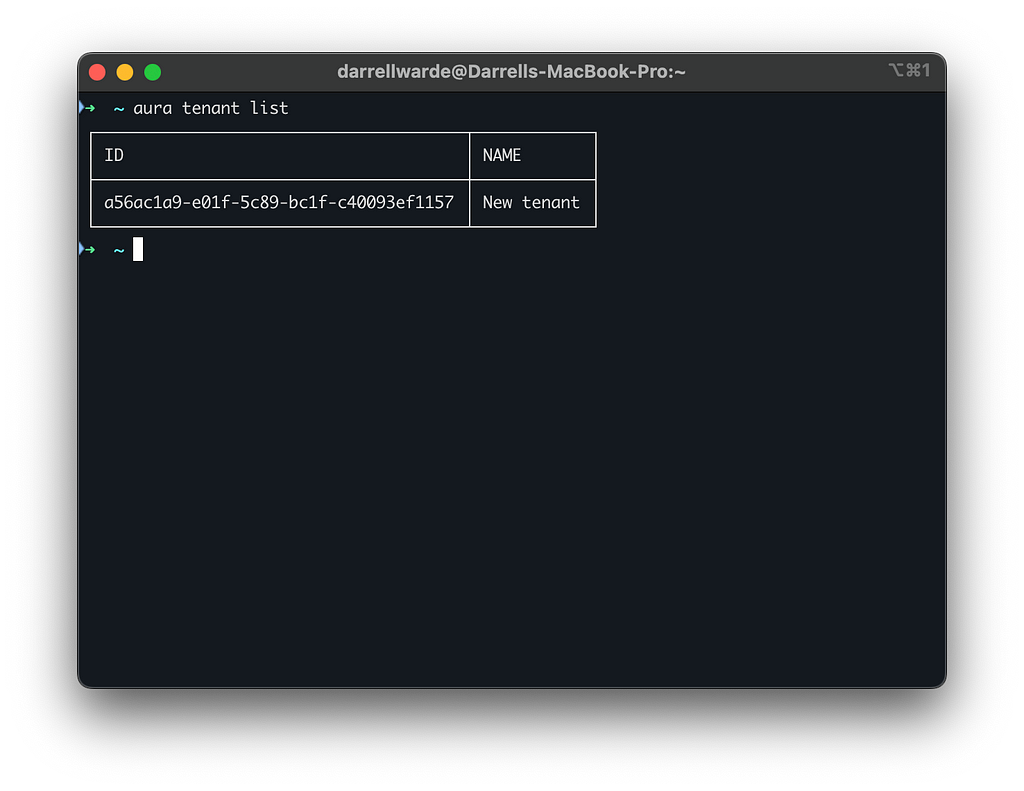
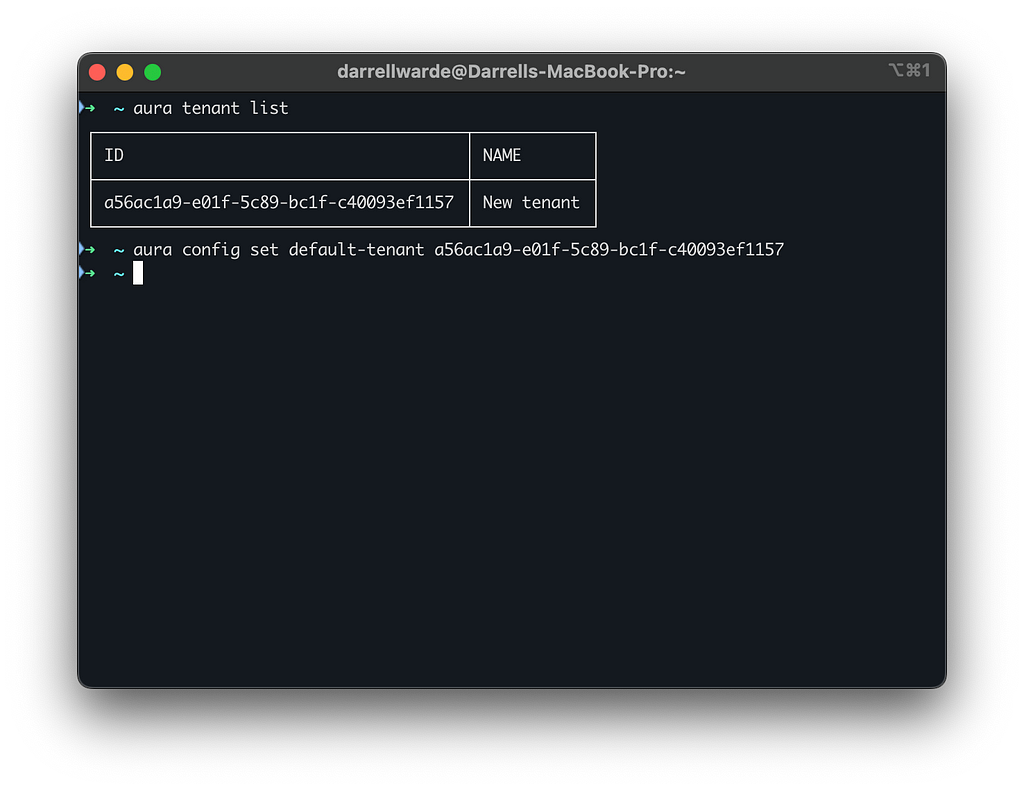
From this point, you can either specify the –tenant-id flag with every command, or you can use aura config set default-tenant to set the default tenant ID to be used with every command:
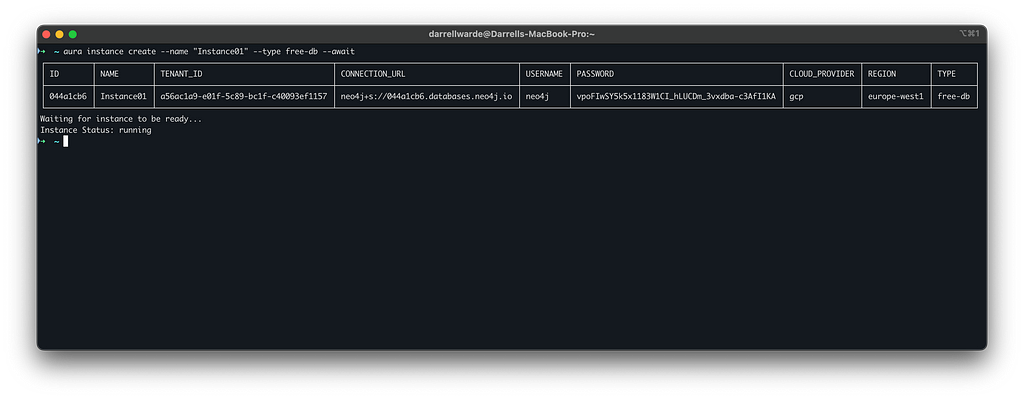
From here, we can create our first instance. The process of creating a Free instance is as simple as aura instance create –name “Instance01” –type free-db –await. We can name it however we like, and the –await flag means that the command will run synchronously and tell us when the instance is ready for use. This will take a few minutes.
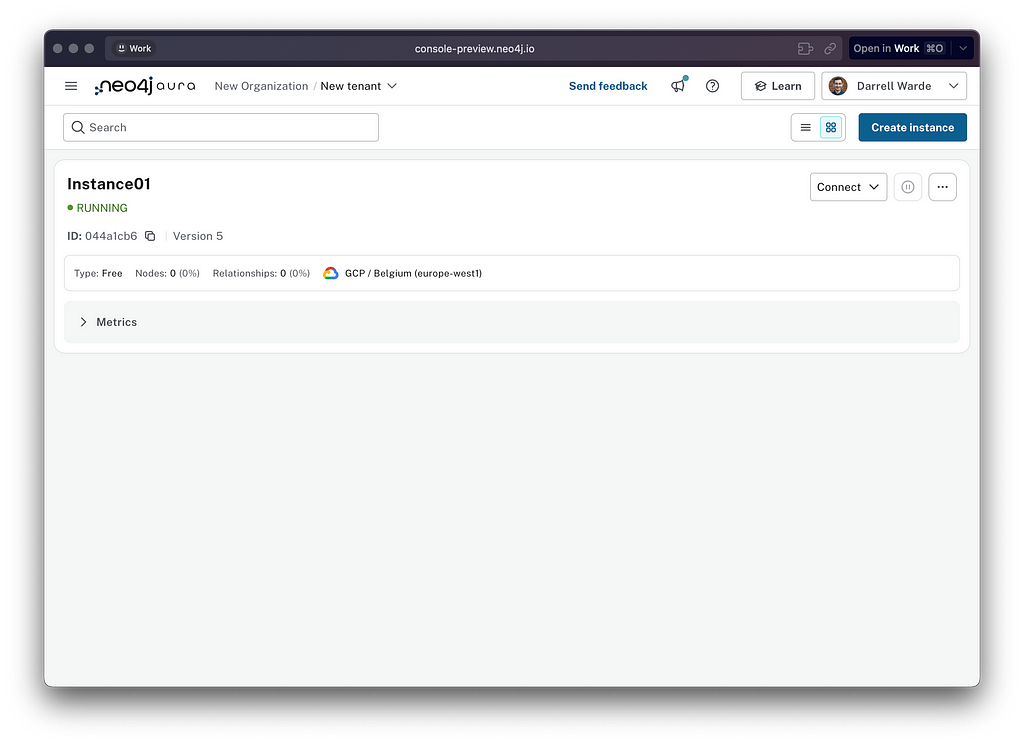
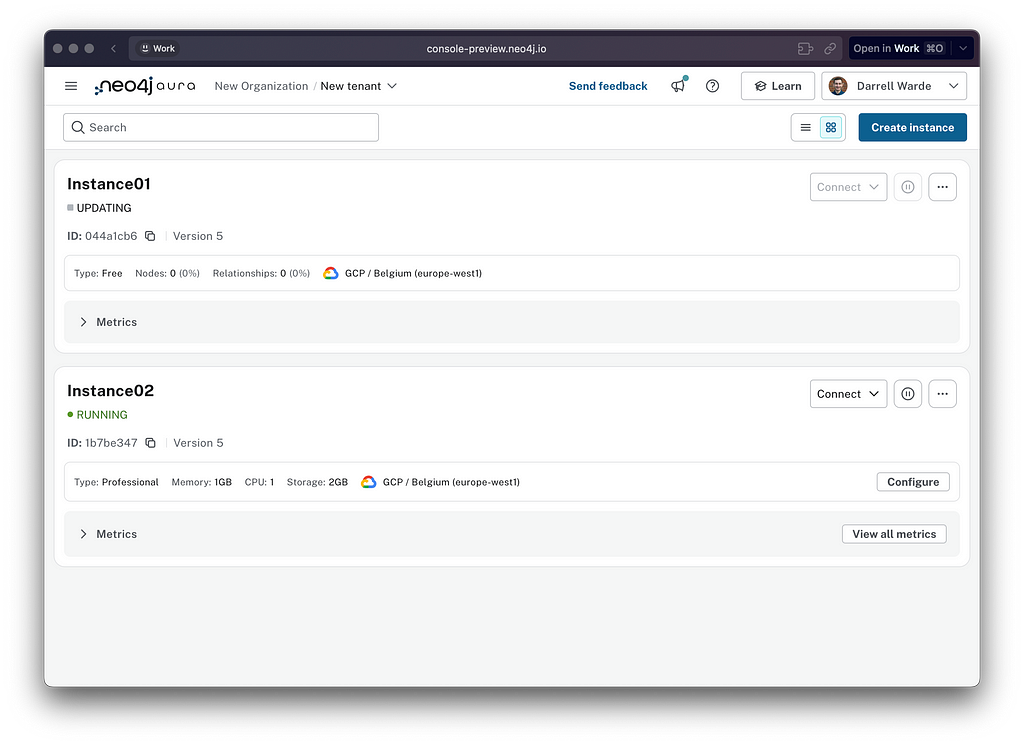
If we go back to the Aura Console, we can see that the instance is there and we’re ready to rock!
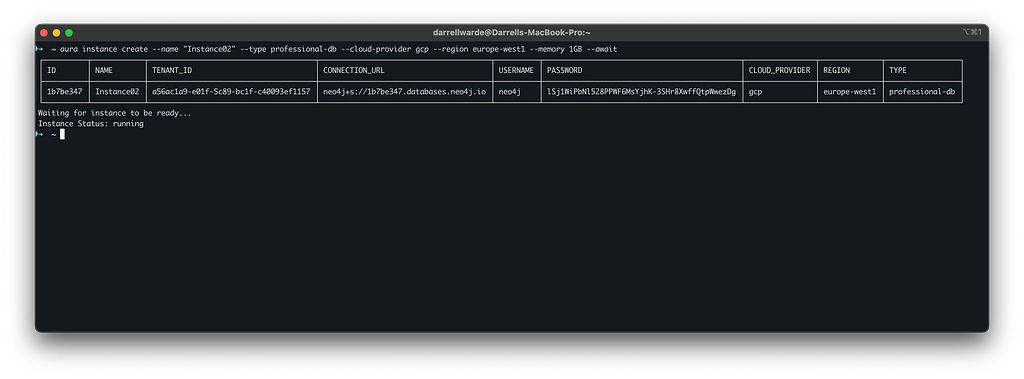
Creating a Professional instance requires a few more flags. If we run aura instance create –name “Instance02” –type professional-db –cloud-provider gcp –region europe-west1 –memory 1GB –await, we can kick this process off. For a Professional instance, we need to additionally specify which cloud provider and region we would like to create it in, as well as the size we desire. It’s possible to list all possible combinations by getting the tenant details (best output in JSON format) by running aura tenant get a56ac1a9-e01f-5c89-bc1f-c40093ef1157 –output json.
Once again going back to the Console, we can see that new Professional instance is good to go.
Next Steps
From here, you can use the CLI to update, pause, resume, and delete instances. You can create new snapshots of instances, and overwrite instances with other instances or snapshots.
The Neo4j Aura CLI will be available from the Neo4j Deployment Center once stable. From this point, we’ll be looking to make it available through software package management systems such as Homebrew for macOS.
This is currently a beta release of this product, so we’re still going to be working on it, and there will be some loose ends. If you stumble across any bugs or can think of any missing functionality, please raise an issue.
Get Started With the Neo4j Aura CLI Beta Release was originally published in Neo4j Developer Blog on Medium, where people are continuing the conversation by highlighting and responding to this story.


