A single TigerGraph instance can host multiple graphs that are accessed by multiple different users. In this report we show that the TigerGraph platform does not protect the confidentiality of any data uploaded to the remote server. In this scenario, any user that has permissions to upload data can browse data uploaded by any other user (irrespective of their permissions).
Impact
Severe.
It is not possible to guarantee that a user is unable to access sensitive data using the built-in access controls. Therefore, it is not possible to ensure confidentiality of uploaded data within a multi-tenant system – as both tenants can see each other's uploaded data.
Products/Versions Affected
- TigerGraph Enterprise Free Edition 3.7.0 Docker Image
- TigerGraph Enterprise Free Edition 3.7.0
We suspect that this vulnerability may be present in all TigerGraph products (although this is not confirmed).
Steps to Reproduce
Standup A TigerGraph System
Using docker download at the latest TigerGraph image and start the server:
1.) Optional: clean-up old TigerGraph docker images and obtain the latest version:
docker rm tigergraph
docker pull docker.tigergraph.com/tigergraph:latest
2.) Download and run the docker image (note: we do not need to attach a volume):
docker run -d \
	-p 14022:22 \
	-p 9000:9000 \
	-p 14240:14240 \
	--name tigergraph \
	--ulimit nofile=1000000:1000000 \
	-t tigergraph/tigergraph:latest
3.) Once the container has started, connect to it via ssh (note: the default password is tigergraph):
ssh -p 14022 tigergraph@localhost
4.) Start all TigerGraph services
gadmin start all
5.) Using GSQL, create a new graph called test and add two graphs named ‘graph1’ and ‘graph2’:
$ gsql
GSQL> CREATE GRAPH graph1(*)
GSQL> CREATE GRAPH graph2(*)
6.) Create a user — “alice” with designer permissions on graph1:
GSQL> use graph graph1
GSQL> create user
User Name : alice
New Password : *****
Re-enter Password : *****
GSQL> grant role designer on graph graph1 to alice
7.) Create a user — “bob” with designer permissions on graph2:
GSQL> use graph graph2
GSQL> create user
User Name : bob
New Password : ***
Re-enter Password : ***
GSQL> grant role designer on graph graph2 to bob
8.) Enable RESTPP authentication
gadmin config set RESTPP.Factory.EnableAuth true
gadmin config apply -y
gadmin restart restpp nginx gui gsql -y
Upload Sensitive Data
The next stage is for alice to upload some sensitive data that she would like to import into her private graph: graph1. To do this she will need to perform the following steps:
Login To GraphStudio As Alice
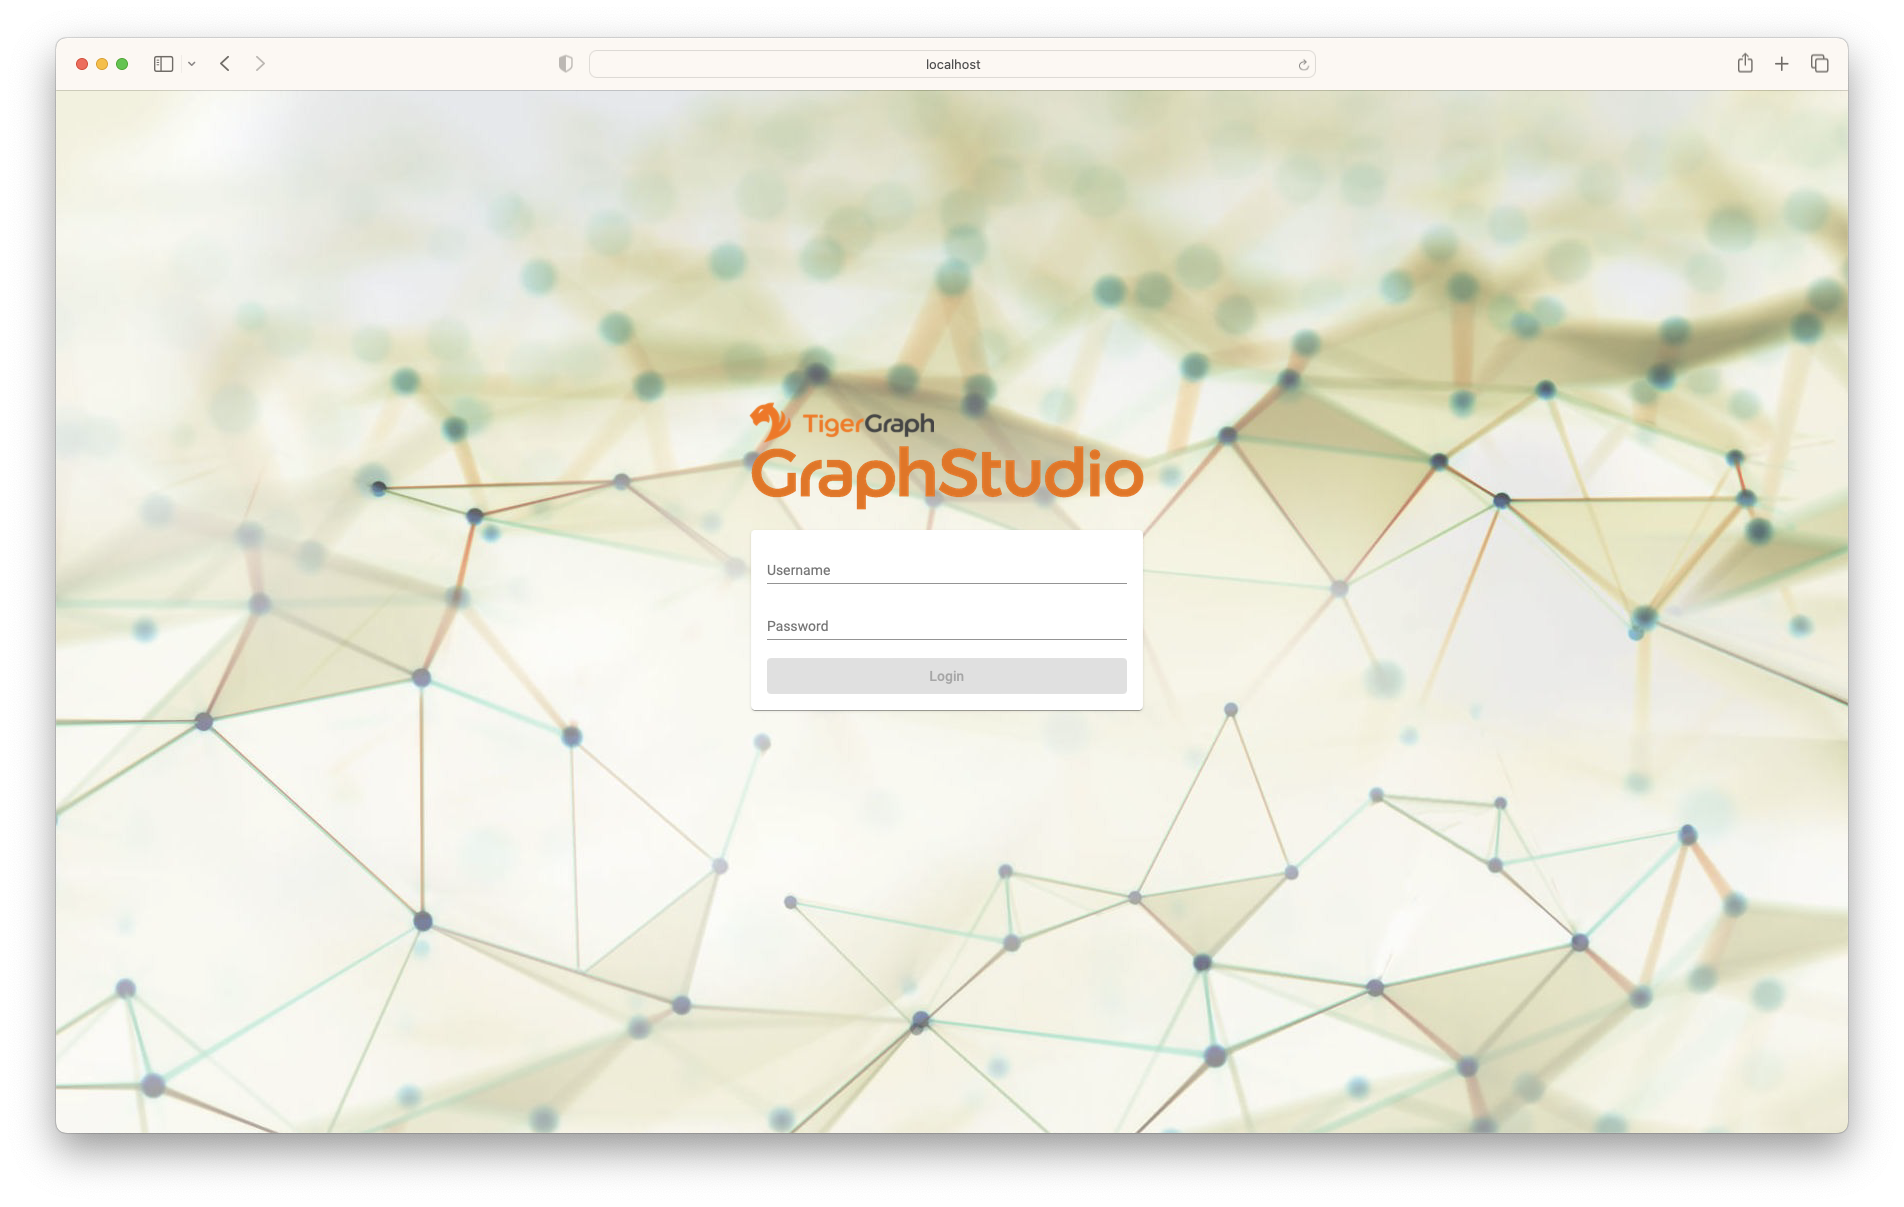
Open a web-browser and go to https://localhost:14240 where you will be able to login to GraphStudio using the alice user. Note: that unless you have changed the password for the administrative user – tigergraph – then you will be automatically logged into GraphStudio as the administrative user. In this situation you will need to logout of GraphStudio first.
Upload Alice’s Sensitive Data
The following steps will simulate the user alice uploading some sensitive data to the remote system:
1.) On the left-hand menu in GraphStudio select “Map Data To Graph”.
2.) On the top toolbar click on the “Add data file” icon (the page with a plus sign).
3.) On the pop-up dialog select “Local File”.
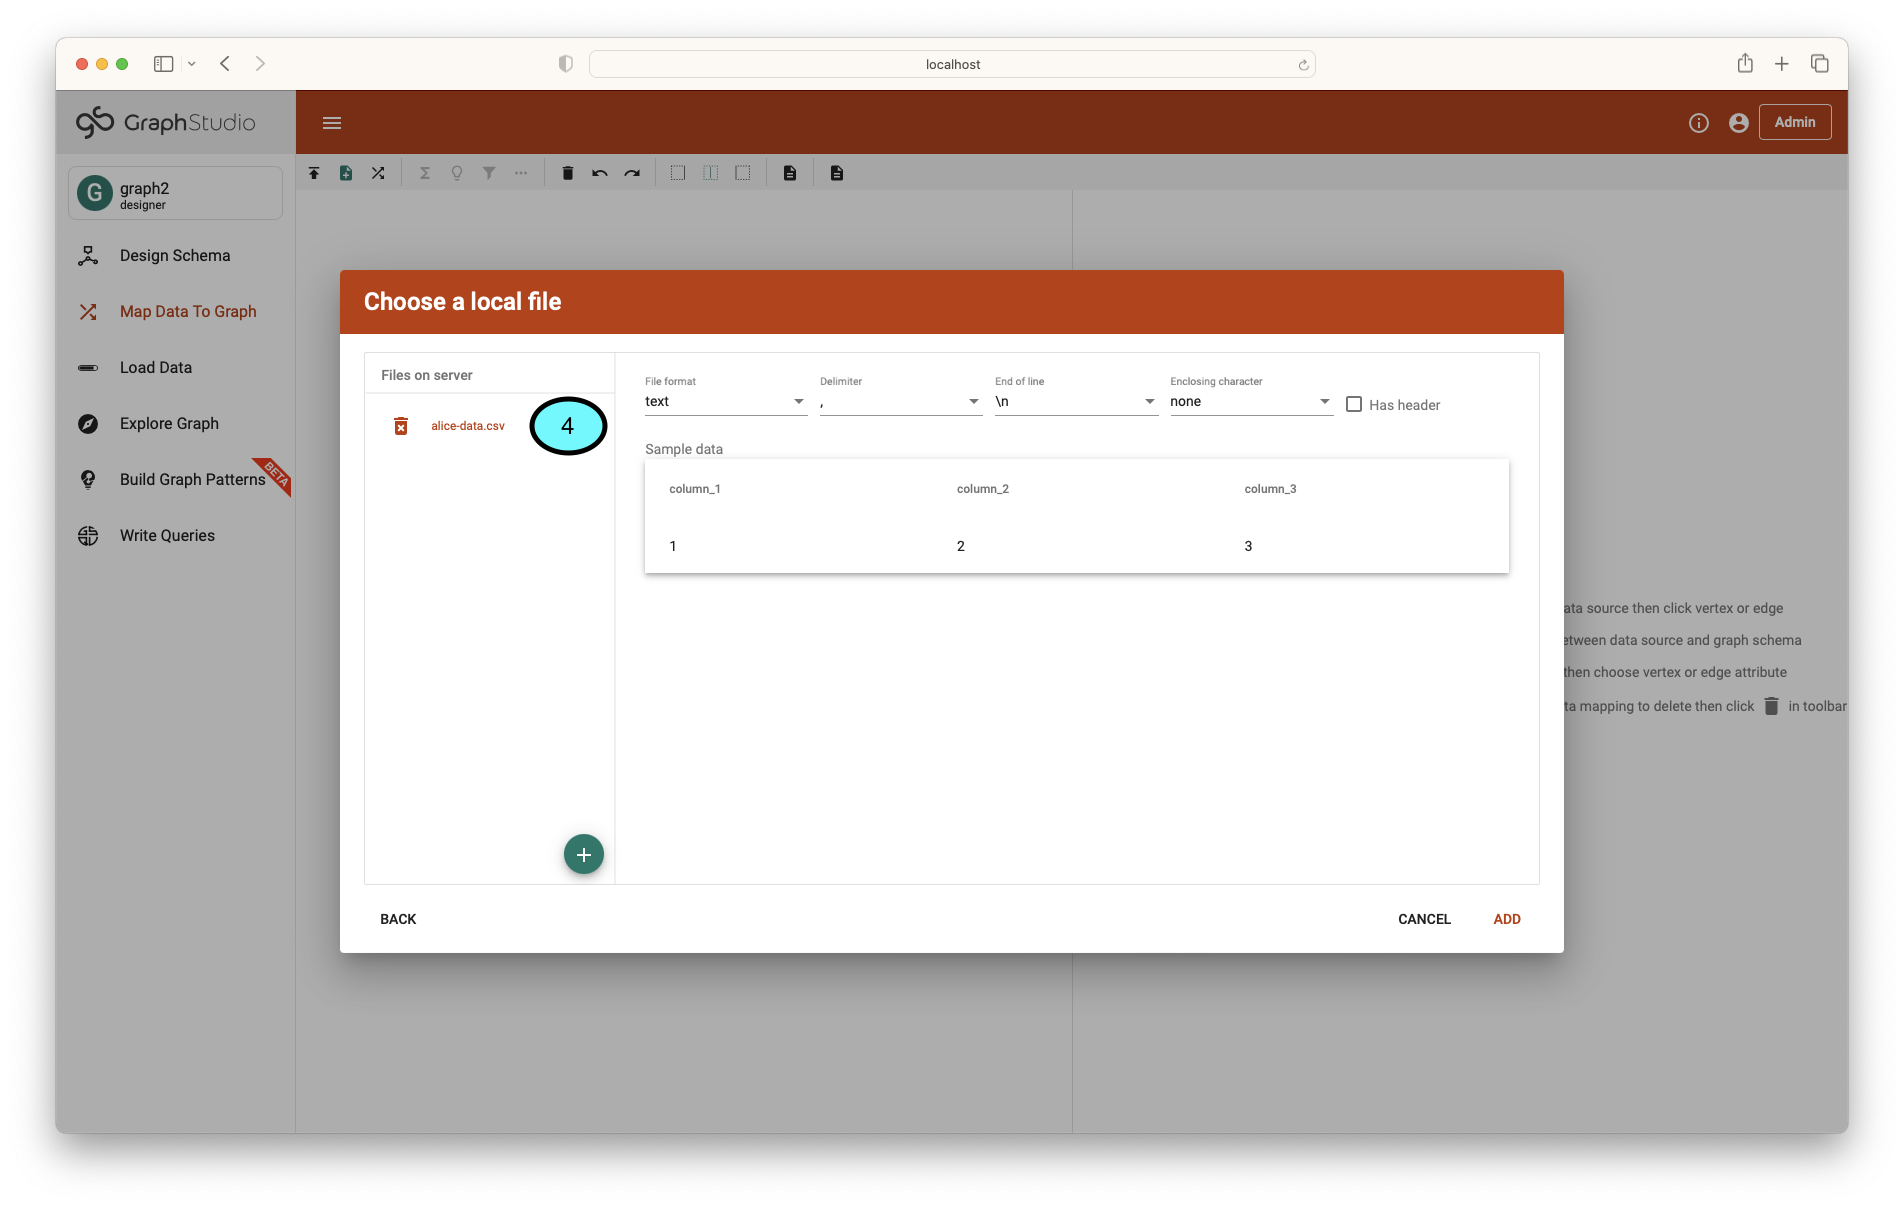
4.) On the new pop-up dialog click the plus icon to add a new file. This will prompt you to select a file from your local system to upload. In this example, we created a file named alice-data.csv
5.) Once the upload is complete you will be able to see the name of the file in the pop-up.
6.) To exit this dialog click “Back”.


Logout Of GraphStudio As Alice
The steps for logging out of GraphStudio are:
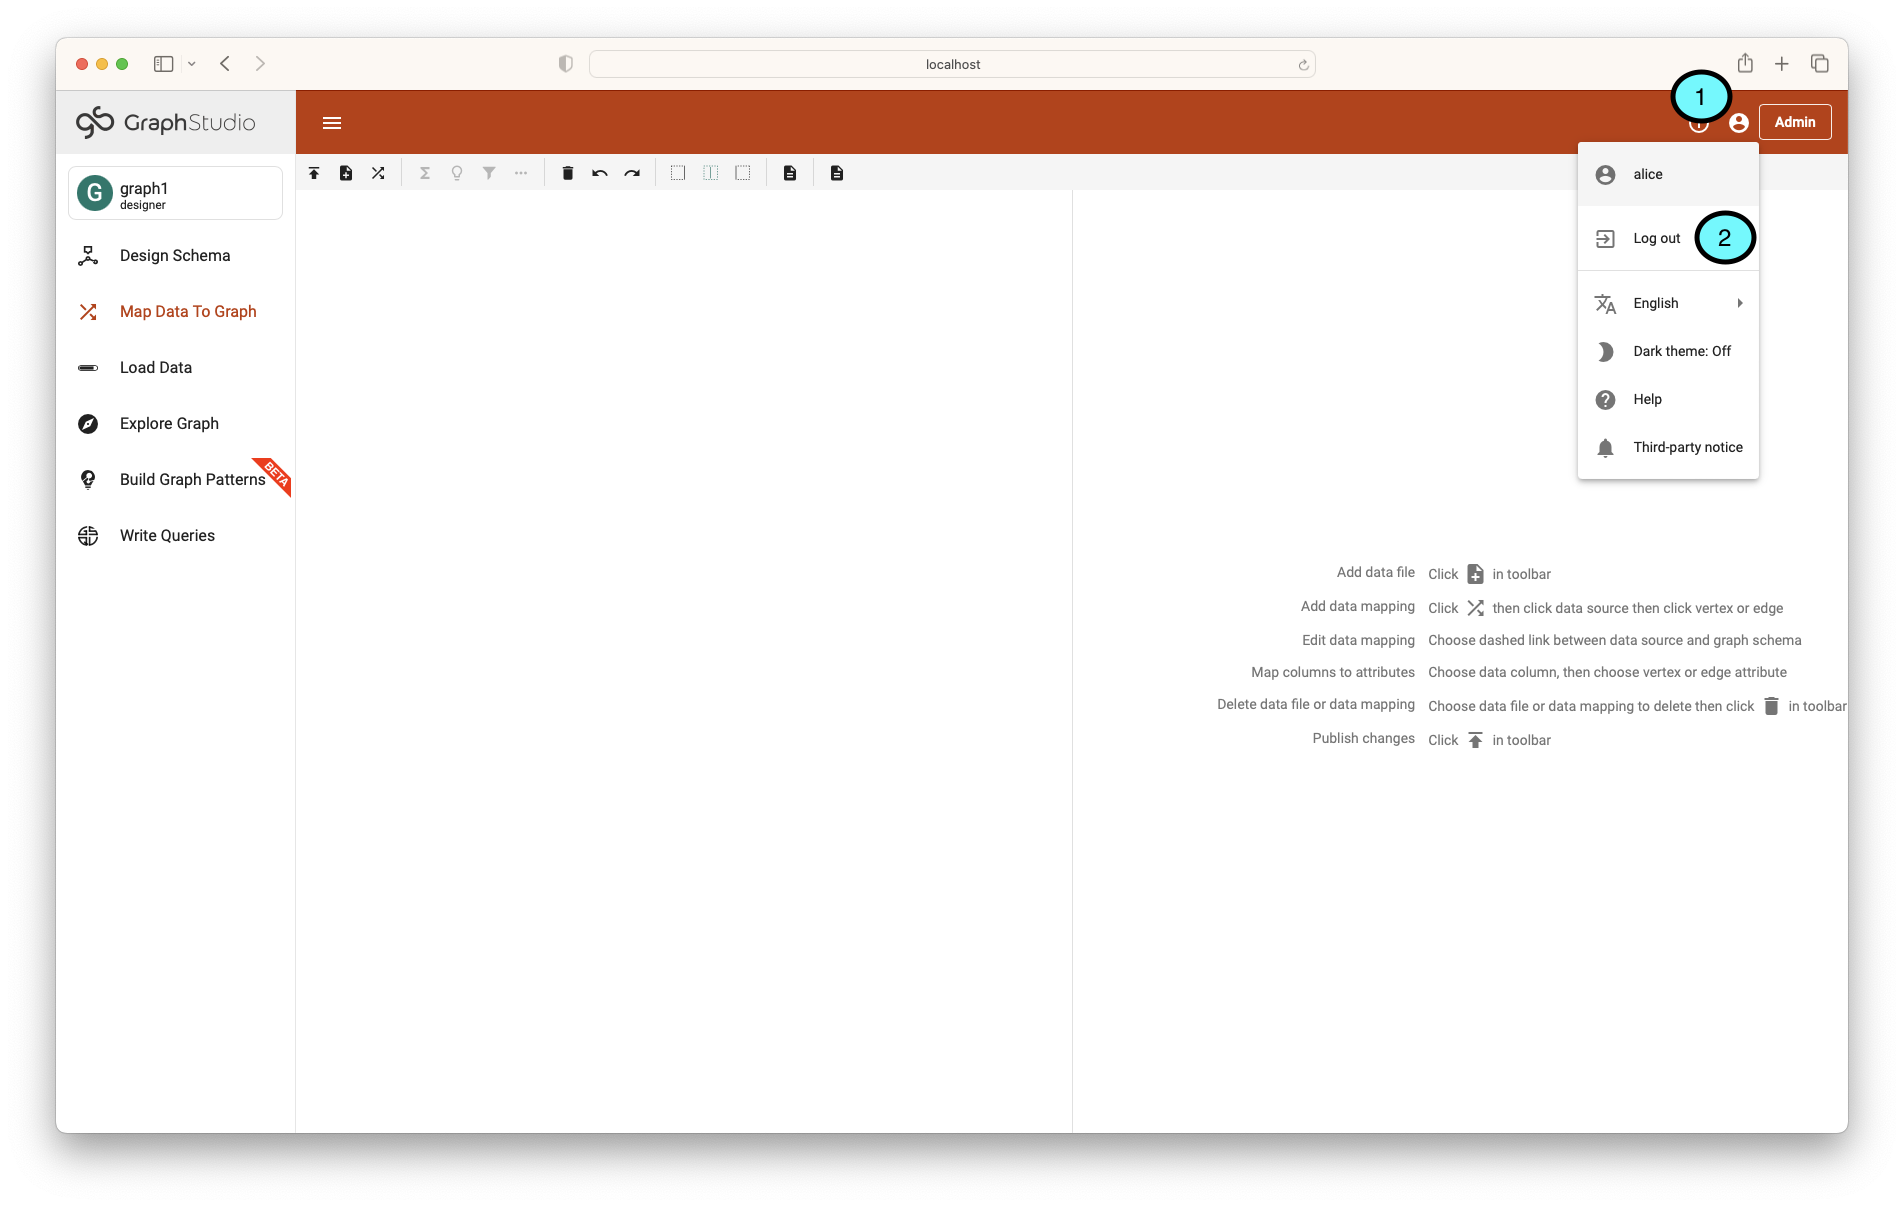
1.) Click on the account icon in the top right corner.
2.) Click on the “Log out” item in the drop-down menu.
Login To GraphStudio As Bob
Open a web-browser and go to https://localhost:14240 where you will be able to login to GraphStudio using the bob user.
Browse All Uploaded Data
The following steps show that user bob automatically obtains access to any data that is uploaded to the system (even if it is done by a different user that is working on a graph that bob does not have access to):
1.) On the left-hand menu in GraphStudio select “Map Data To Graph”.
2.) On the top toolbar click on the “Add data file” icon (the page with a plus sign).
3.) On the pop-up dialog select “Local File” (depending on version you may need to click “Next” to open up a new dialog).
4.) On the new pop-up dialog bob is able to select the file alice-data.csv. From here bob is able to load this data into his own graph and download the contents.