Self-registering agent
Introduced in 1.5
Agent self-registration omits manually acquiring token information from NOM UI as described in Manually registering agent. Instead, minimal configuration of the NOM server is provided to allow the agent to connect and register itself. Authorization is granted through mutual authentication.
A self-registering agent is useful in an automated environment such as a Kubernetes cluster of Neo4j instances where instances are dynamically created and managed.
Run agent
To run a self-registering agent, an additional command line option is provided as -s, short for --self-register.
Running as a service
To run an agent in service mode means that the agent process runs in the background and monitors the instance. The agent lifecycle is handled by the operating system service manager. Best practice is to run an agent in service mode.
Linux (systemd)
Setting arguments
Run the following to edit the service:
systemctl edit neo4j-ops-manager-agent.serviceSet environment variables by either setting Environment or EnvironmentFile options. For example, using the Environment options, the override file can look like this:
[Service]
Environment="CONFIG_SERVER_GRPC_ADDRESS=<server grpc address>"
Environment="CONFIG_SERVER_HTTP_ADDRESS=<server http address>"
Environment="CONFIG_TLS_TRUSTED_CERTS=</path/to/trusted/certs/pem/file>"
Environment="CONFIG_LOG_FILE=</path/to/nom-agent/log.txt>"
Environment="CONFIG_INSTANCE_1_NAME=<instance name>"
Environment="CONFIG_INSTANCE_1_BOLT_URI=<bolt uri of the local instance>"
Environment="CONFIG_INSTANCE_1_BOLT_USERNAME=<local instance user name>"
Environment="CONFIG_INSTANCE_1_BOLT_PASSWORD=<local instance password>"
Environment="CONFIG_INSTANCE_1_QUERY_LOG_PORT=<an available port>"
Environment="CONFIG_INSTANCE_1_LOG_CONFIG_PATH=<path to server-logs.xml>"
Environment="CONFIG_TLS_CLIENT_CERT=<path to agent TLS cert>"
Environment="CONFIG_TLS_CLIENT_KEY=<path to agent TLS key>"
Please refer to the full list of options here.
Windows
Setting arguments
-
Open registry editor and navigate to
HKLM\SYSTEM\CurrentControlSet\Services\neo4j-ops-manager-agent. -
Create a key of type
REG_MULTI_SZnamedEnvironmentand add your environment variables, each on a separate line, for example:CONFIG_SERVER_GRPC_ADDRESS=<server grpc address> CONFIG_SERVER_HTTP_ADDRESS=<server http address> CONFIG_TLS_TRUSTED_CERTS=</path/to/the/trusted/certs/pem> CONFIG_LOG_FILE=</path/to/nom-agent/log.txt> CONFIG_INSTANCE_1_NAME=<instance name> CONFIG_INSTANCE_1_BOLT_URI=<bolt uri of the local instance> CONFIG_INSTANCE_1_BOLT_USERNAME=<local instance user name> CONFIG_INSTANCE_1_BOLT_PASSWORD=<local instance password> CONFIG_INSTANCE_1_QUERY_LOG_PORT=<an available port> CONFIG_INSTANCE_1_LOG_CONFIG_PATH=<path to server-logs.xml> CONFIG_TLS_CLIENT_CERT=<path to agent TLS cert> CONFIG_TLS_CLIENT_KEY=<path to agent TLS key>
Please refer to the full list of options here.
Running as a console application
All configuration values for the agent should be set as environment variables before starting the agent.
agent console -s

or

agent console --self-register
Verify agent setup
Ensure agent has contacted NOM server, is online and is reporting DBMS(s) correctly.
-
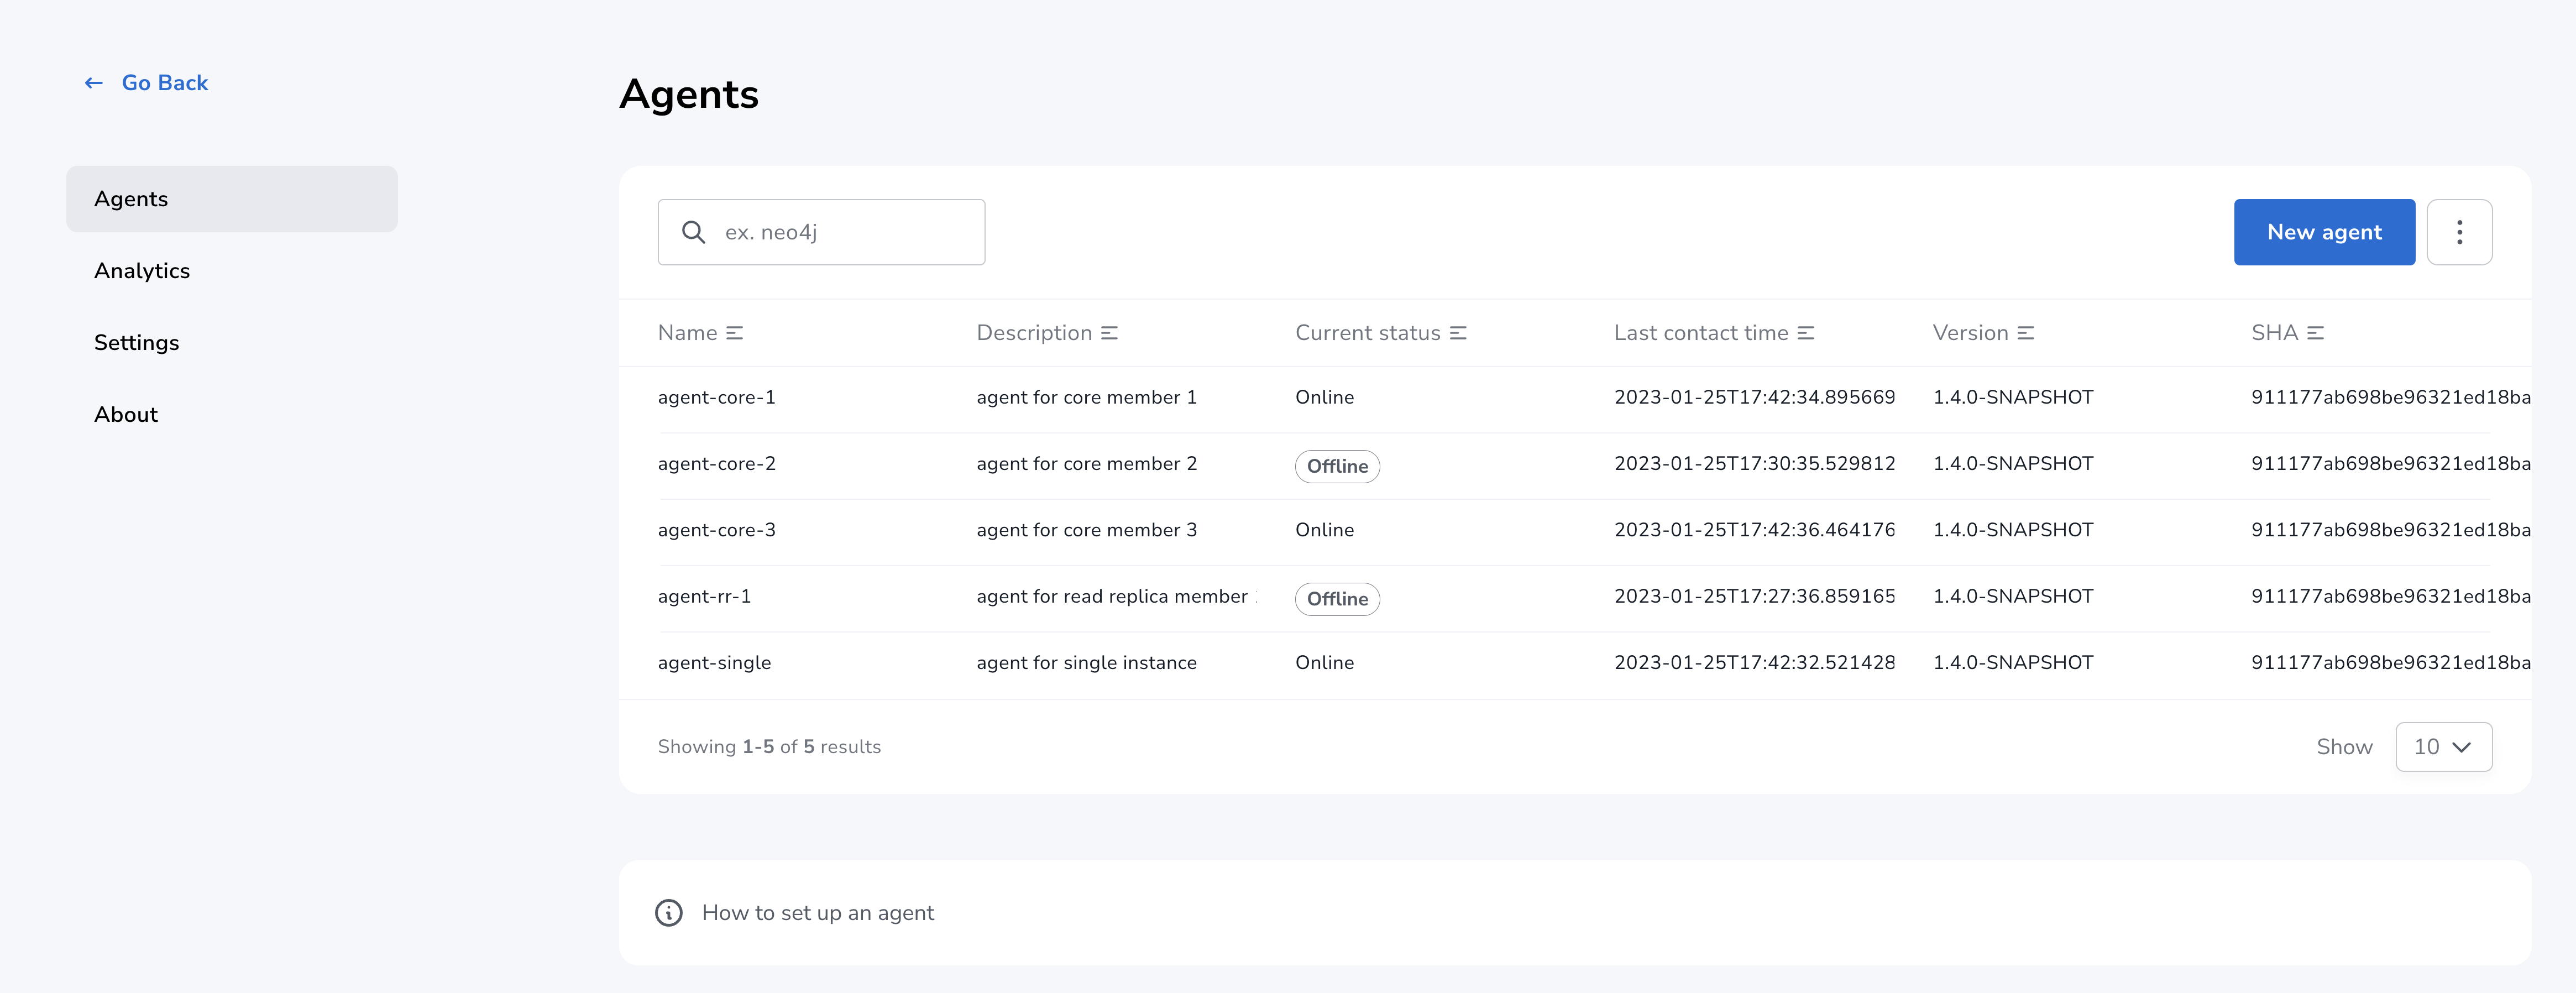
Return to Agents listing in global settings.
-
Find self-registered agent in list.
-
If the agent is not in the list then go back to where the agent is running and check the logs. It may be that the server address is configured incorrectly or the TLS certificates are not correctly specified.
-
-
Upon successful registration, the agent status changes to
Offlineuntil the agent receives token information and re-connects to NOM server. -
Wait for agent status to change to
Onlineindicating that the agent has successfully re-connected to the NOM server. This can take a few minutes.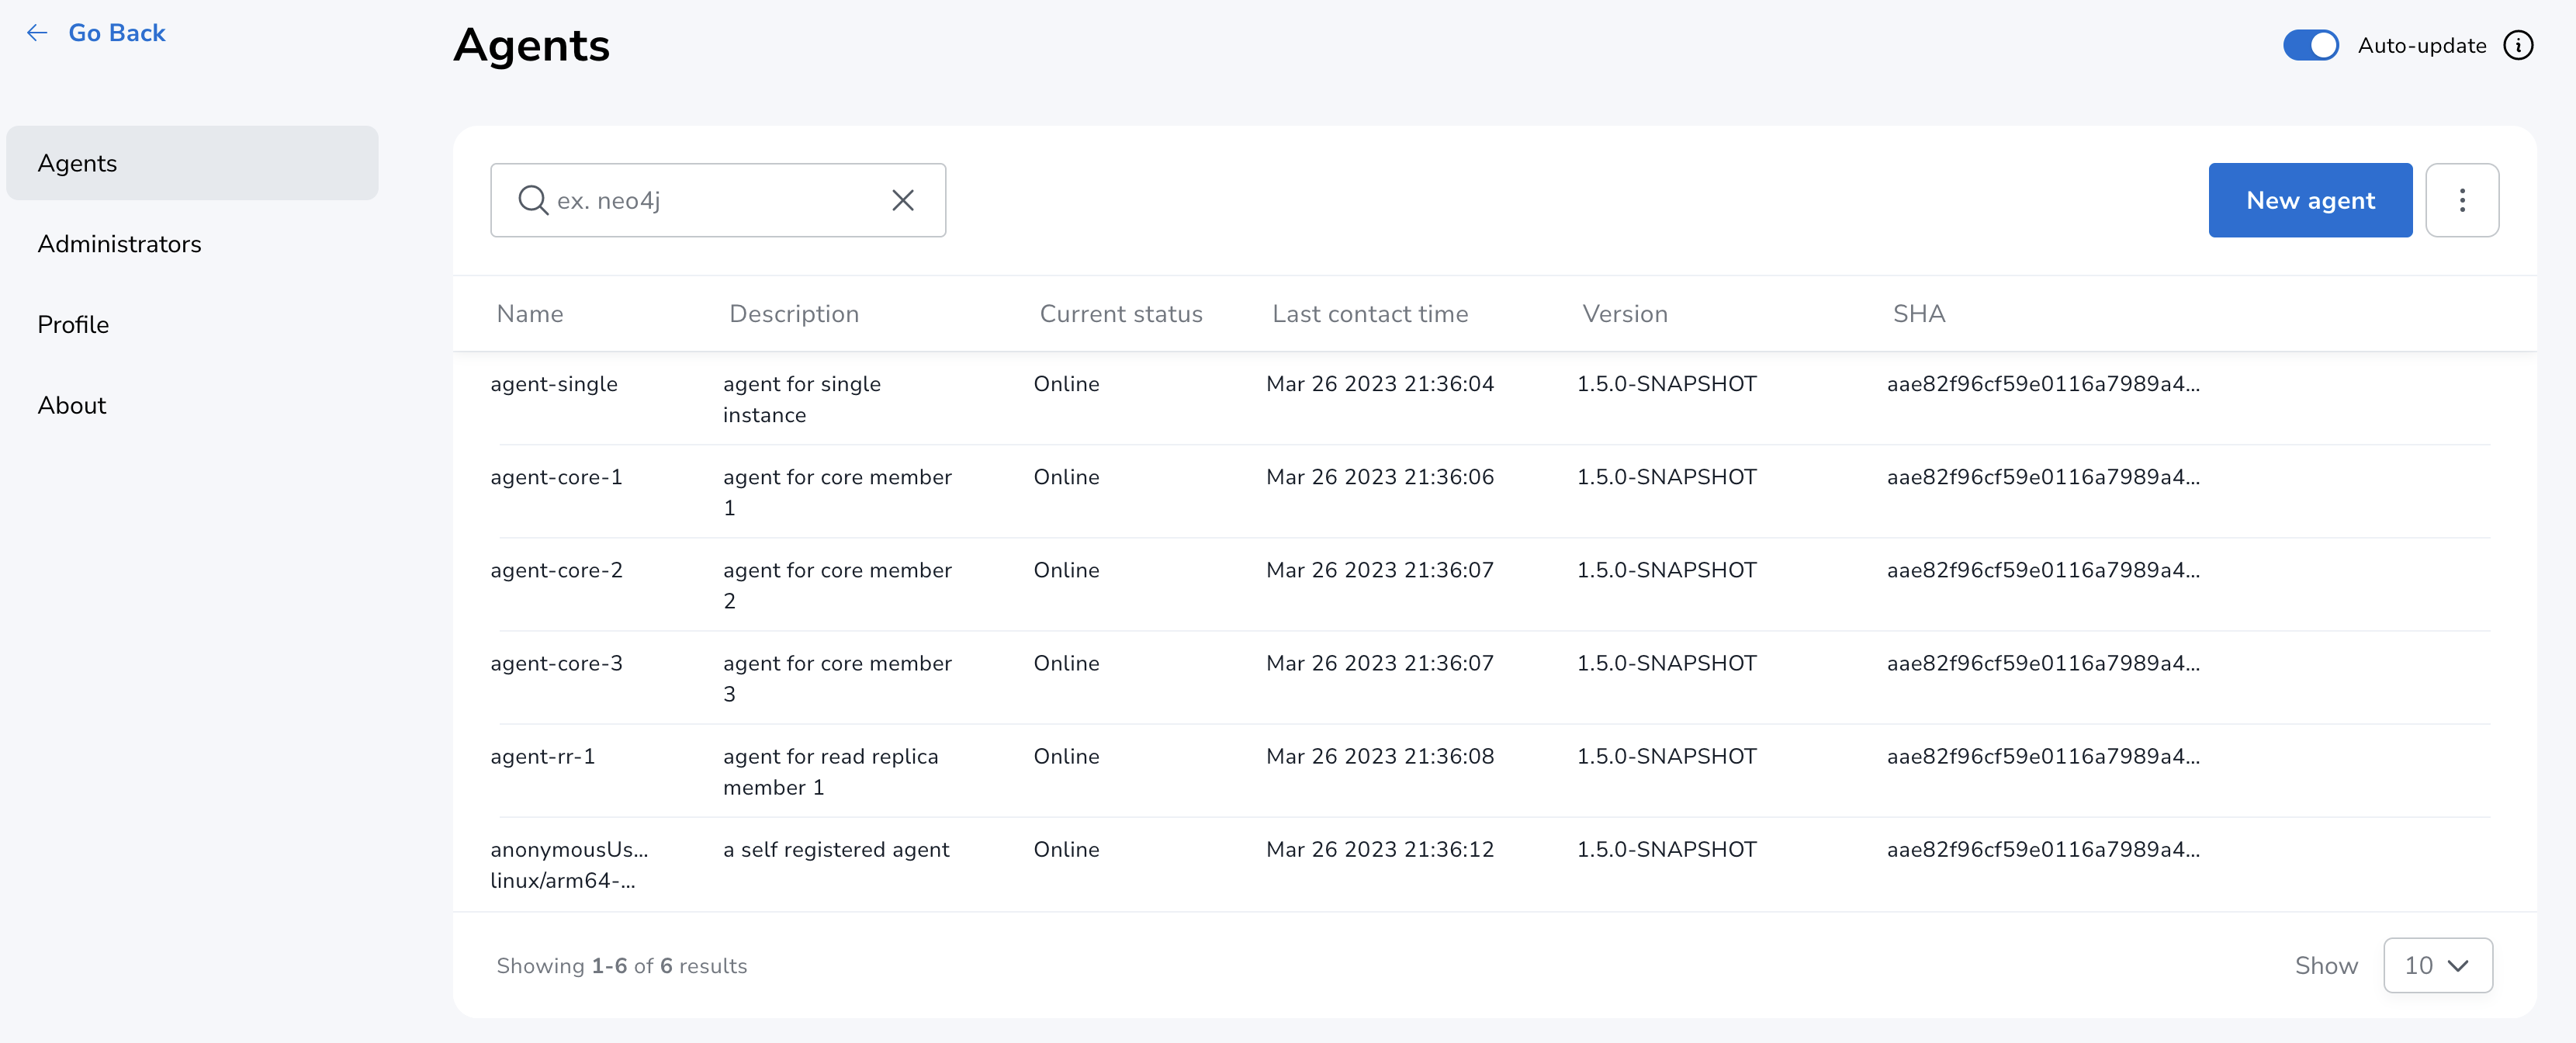
-
If the agent status is not
Onlinethen check for errors in server logs and agent logs respectively. -
Hover over the newly added agent and select "View Configuration" from the menu on the right to show agent configuration. Check configuration is as expected.
-
Navigate to the home page (if this agent is the first to manage an instance in a DBMS, it may take a few minutes for the DBMS to appear).
-
Select the Alerts tab and make sure that there are no alerts for any of the DBMSs managed by the new agent.
Agent configuration reference
Registration configuration
| Variable | Description | Example |
|---|---|---|
|
Server GRPC Address |
server:9090 |
|
Server HTTP address ( should include protocol scheme ) |
https://server:8080 |
|
PEM encoded trusted CA list () |
|
|
Since agent-server communication needs to be encrypted, you need to configure the agent so that it trusts the server’s certificates.
The file that contains the trusted certificate list (PEM encoded) can be specified through the |
Optional configuration to be used to specify the location for agent config file:
| Variable | Description | Example | Default |
|---|---|---|---|
|
Persistent path to a file on Neo4j instance host |
"file://path/to/" |
|
| Agent config location must be of persistent type. |
Agent meta-data can be optionally specified using these configuration parameters:
| Variable | Description | Example |
|---|---|---|
|
Optional name for agent to easily differentiate among self-registered agents |
home-db-agent |
|
Optional description for agent to easily differentiate among self-registered agents |
An agent to monitor home db |
|
It’s recommended to set agent name and description if multiple agents are being self-registered on similar hosts as it would lead to confusion with similarly named agents appearing in UI. |
Configuration for mutual authentication
The NOM server immediately authorizes an agent that registers using a trusted certificate.
The following configuration is required to enable mutual authentication:
| Variable | Description | Example |
|---|---|---|
|
PEM encoded Agent certificate for mutual TLS |
|
|
PEM encoded Agent key for mutual TLS |
|
|
In addition to the above configuration, the NOM server also needs to be configured to trust the agent certificates as described here. The client certificate set by |
|
Self-signed certificates for agents in test and demo environments can be generated as documented here. One agent certificate which is not tied to host IPs of agents can be used to configure multiple agents which will reduce the number of agent certificates to maintain. |
Agent logging configuration
The following environment variables specify start configuration for the agent:
| Variable | Description | Example |
|---|---|---|
|
Log level (debug,info,warn,error) |
info |
|
Path to the log file |
|
Monitored instance configuration
The following environment variables need to be set to allow the agent to access the instance.
|
If there is more than one DBMS being monitored by the same agent, repeat and enumerate the configuration of each DBMS by replacing the digit |
| Variable | Description | Example |
|---|---|---|
|
Name of first instance |
my-instance-1 |
|
Bolt URI for first instance with bolt or bolt+s protocol |
bolt://localhost:7687 or bolt+s://localhost:7687 or bolt+ssc://localhost:7687, depending on the local database setup |
|
Bolt username for first instance |
neo4j |
|
Bolt password for first instance |
password |
|
The instance name that you specify for |
Query log collection configuration
| Variable | Description | Example |
|---|---|---|
|
Port for connecting the agent to the Neo4j log4j appender. If not set, the query log collection feature is treated as disabled. |
9500 |
|
Path to the instance log4j config file. If set, appends the appropriate log appender automatically (including the port specified above). |
/var/lib/neo4j/conf/server-logs.xml |
|
Minimum duration in milliseconds for a query to be logged (optional) |
100 |
|
Enable filter for errors under the minimum duration in milliseconds (optional) |
true |
|
Disable the string literal obfuscation in queries (optional) |
true |
|
Collect and show queries coming from the NOM agent (optional) |
true |
|
Agents are supposed to monitor only local instances and should not be configured to connect to remote instances. |
|
Refer to Neo4j instance requirements to ensure that all instances meet the requirements to be managed by NOM. |